


A Brief Guide to Making Tumblers With Epoxy Resin
Creating a personalized tumbler with epoxy resin is a rewarding DIY project. You’ll have fun expressing your creativity in a functional piece of art that you can use daily. Get the best results with this brief guide to making tumblers with epoxy resin.
Gather Your Materials
You will need the following materials:
- An epoxy resin kit
- A stainless-steel tumbler
- Mixing sticks and mixing containers
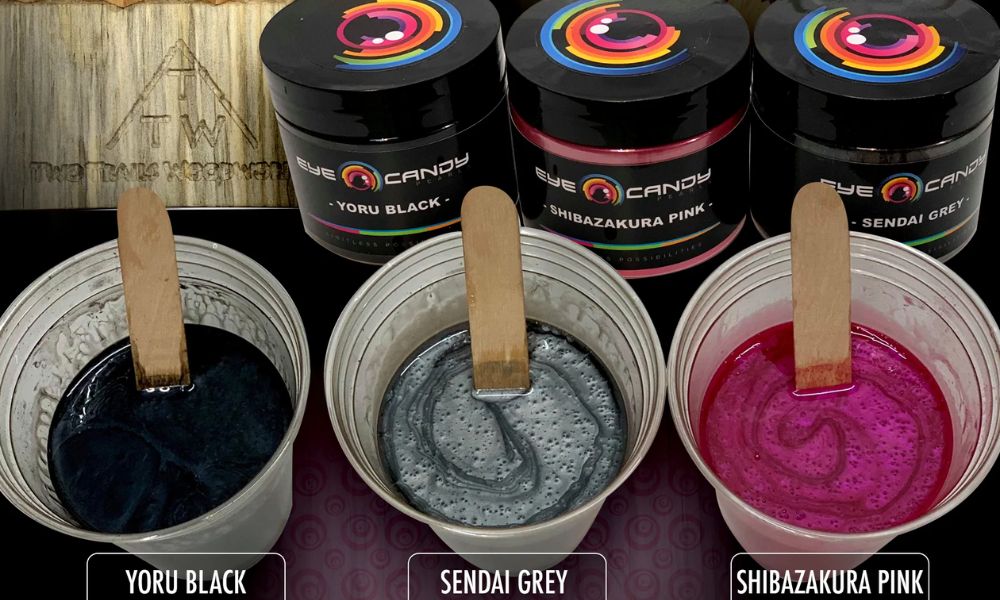
- Mica pigment powder
- A turner or rotisserie
Wear Safety Gear
Wear a respirator to protect yourself from the fumes of uncured epoxy, and be sure to follow the epoxy manufacturer’s recommendations. A full-face respirator will protect your airways and eyes from irritation.
Wear gloves throughout the project to protect your skin. If you get epoxy on your skin, wash it with regular soap and water, following the manufacturer’s instructions.
Set Up the Cup Turner and Prepare the Resin
Before mixing your epoxy resin, attach the tumbler to a cup turner. Make sure the tumbler is securely fastened and centered before turning on the rotisserie to prevent drips or uneven coating.
Next, put on your gloves and respirator. Read the epoxy resin manufacturer’s mixing instructions, then pour the manufacturer-specified amounts of resin and hardener into a mixing container. Stir until fully blended.
Add Mica Powder
To add a shimmering effect to your epoxy resin, consider integrating mica powder into your mix. Start by slowly adding a small amount of mica powder to the mixed epoxy resin, stirring continuously to ensure even distribution. Consider using a small amount of black powder pigment to darken other mica powder shades, or use it on its own for a deep black color.
Pour the Epoxy Resin
Once your epoxy resin mix is ready and your tumbler is securely attached to the cup turner, it’s time to start the pouring process. Begin by slowly pouring the epoxy resin onto the tumbler while the cup turner rotates the tumbler. The cup turner is crucial for making tumblers with epoxy resin because the rotating action helps ensure a smooth, uniform coating without drips or bald spots.
As the resin flows over the sides, use a clean mixing stick or gloved fingers to guide the epoxy over any areas that are not fully covered, applying a light touch to avoid introducing air bubbles. Continue to pour and spread the resin until the entire outer surface of the tumbler is coated. Carefully monitor the resin’s coverage and thickness, aiming for a consistent layer all around the tumbler.
Cure the Epoxy Resin
Keep the tumbler rotating on the cup turner as the epoxy resin cures. The surface will become dry within 18 to 24 hours. Once the surface is dry to the touch, you can remove the cup from the turner. Do not use the cup until it is fully cured, which takes approximately 72 hours.
Your epoxy resin tumbler will stand as a reward of your work and artistry every time it’s used. By following the steps outlined above, you can produce many different beautiful designs. Enjoy the satisfaction of using or gifting a one-of-a-kind piece that reflects your creativity.
Share