A Quick Guide to Preserving Dried Flowers in Resin Art

Preserving flowers in resin creates the illusion of flowers frozen in time. Use our quick guide to preserving dried flowers in resin art to create your own masterpieces.
Preparation and Materials
Before beginning your resin art project, gather your materials and create a safe workspace. To start, choose a well-ventilated area. Cover the worktable with a plastic sheet or disposable tablecloth.
Here are the materials you’ll need for your project:
- Completely dried flowers
- Resin and hardener
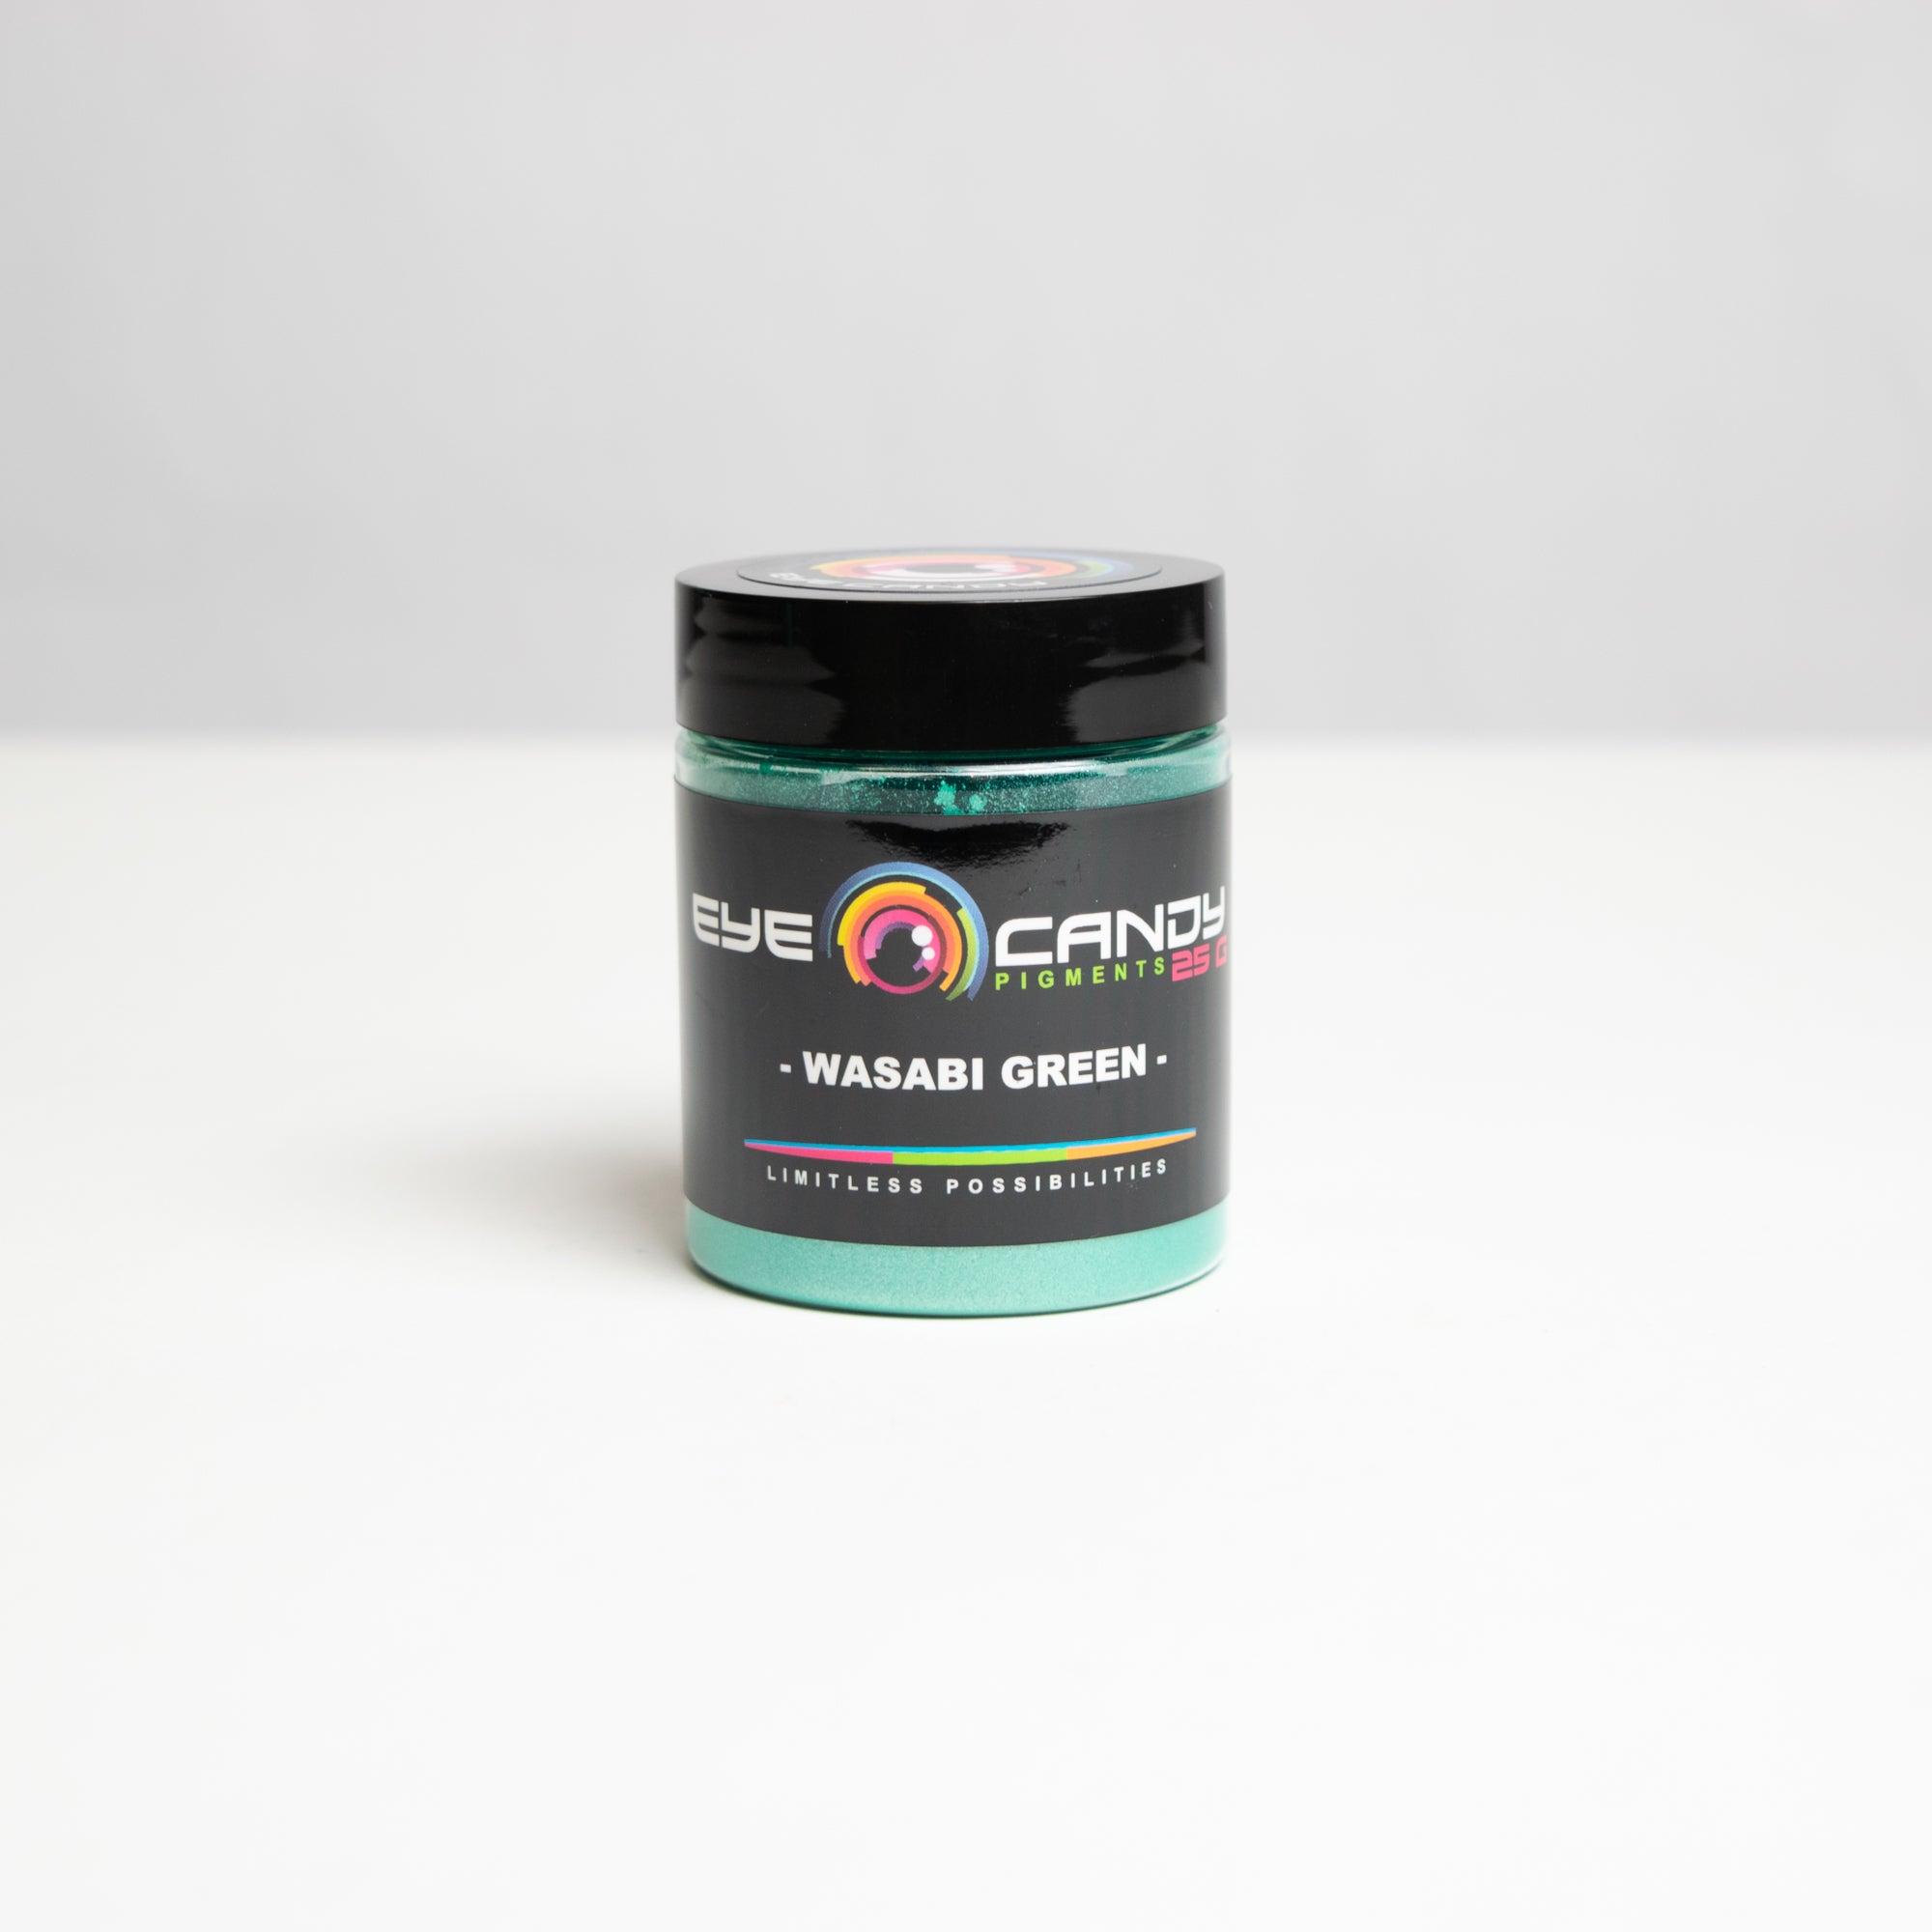
- Resin pigment paste for color
- Silicone molds
- Mixing cups and stirring sticks
- Gloves and a respirator
- Tweezers and toothpicks
- Heat gun for popping surface bubbles
- Additional decorative elements (e.g., glitter or gold leaf)
Instructions
When you start preserving dried flowers in resin art, put on gloves and a respirator to protect your skin and respiratory system. Then, follow these instructions.
Mix the Resin
Mix the resin and hardener in a disposable cup according to the resin manufacturer’s instructions. Incorrect proportions of the resin and hardener may lead to a sticky or soft final product. Stir slowly to avoid creating a lot of air bubbles in the resin.
For colored resin, add a resin pigment paste to the resin and hardener mixture. The pigment paste will impart a vibrant color and transform the transparent resin. You can add less paste for lighter color saturation or more for deeper pigmentation.
Pour the Resin and Place the Flowers
Next, fill up the silicone mold halfway with the mixed resin. Then, use tweezers or a toothpick to arrange your chosen dried flowers in the resin-filled mold.
Pour the remaining resin into the mold and cover all the flowers completely. If the flowers begin to float, push them back into place with the toothpick. Then, add decorative touches, like glitter or gold leaf, over the resin.
Curing and Removal
To remove bubbles on the surface, lightly go over the area with a heat gun. Allow the resin to cure according to the epoxy resin manufacturer’s instructions, which is generally 24–72 hours. Once it is fully cured, gently remove your resin art piece by carefully flexing the silicone mold.
Important Notes
While crafting your resin art piece, keep the following points in mind for the best results:
- Different brands of resins may have different instructions for mixing and curing times. Always refer to the manufacturer’s instructions before starting the project.
- Only use completely dried flowers, as moisture will cause them to rot in the resin.
- Always wear protective gear like gloves and a respirator, even when working in a well-ventilated area. Resin can be harmful if it comes into contact with skin or is inhaled.
- Be patient during curing. Moving or touching the piece too early can result in fingerprints or distortions in the resin.
Creating resin art with dried flowers is a fun and rewarding way to preserve the beauty of nature. Once your resin art piece is complete, you can turn it into a unique pendant for a necklace, a keychain, or a decorative piece for your home or office.


