Creating Bath Bomb Gifts: DIY Ideas and Inspiration

Gifting handmade bath bombs adds a personal touch to a self-care present. You can customize bath bombs in terms of color, scent, and even shape, making them a versatile gift for all occasions. Explore fun DIY ideas and inspiration for creating bath bomb gifts.
Opportunities for Creativity
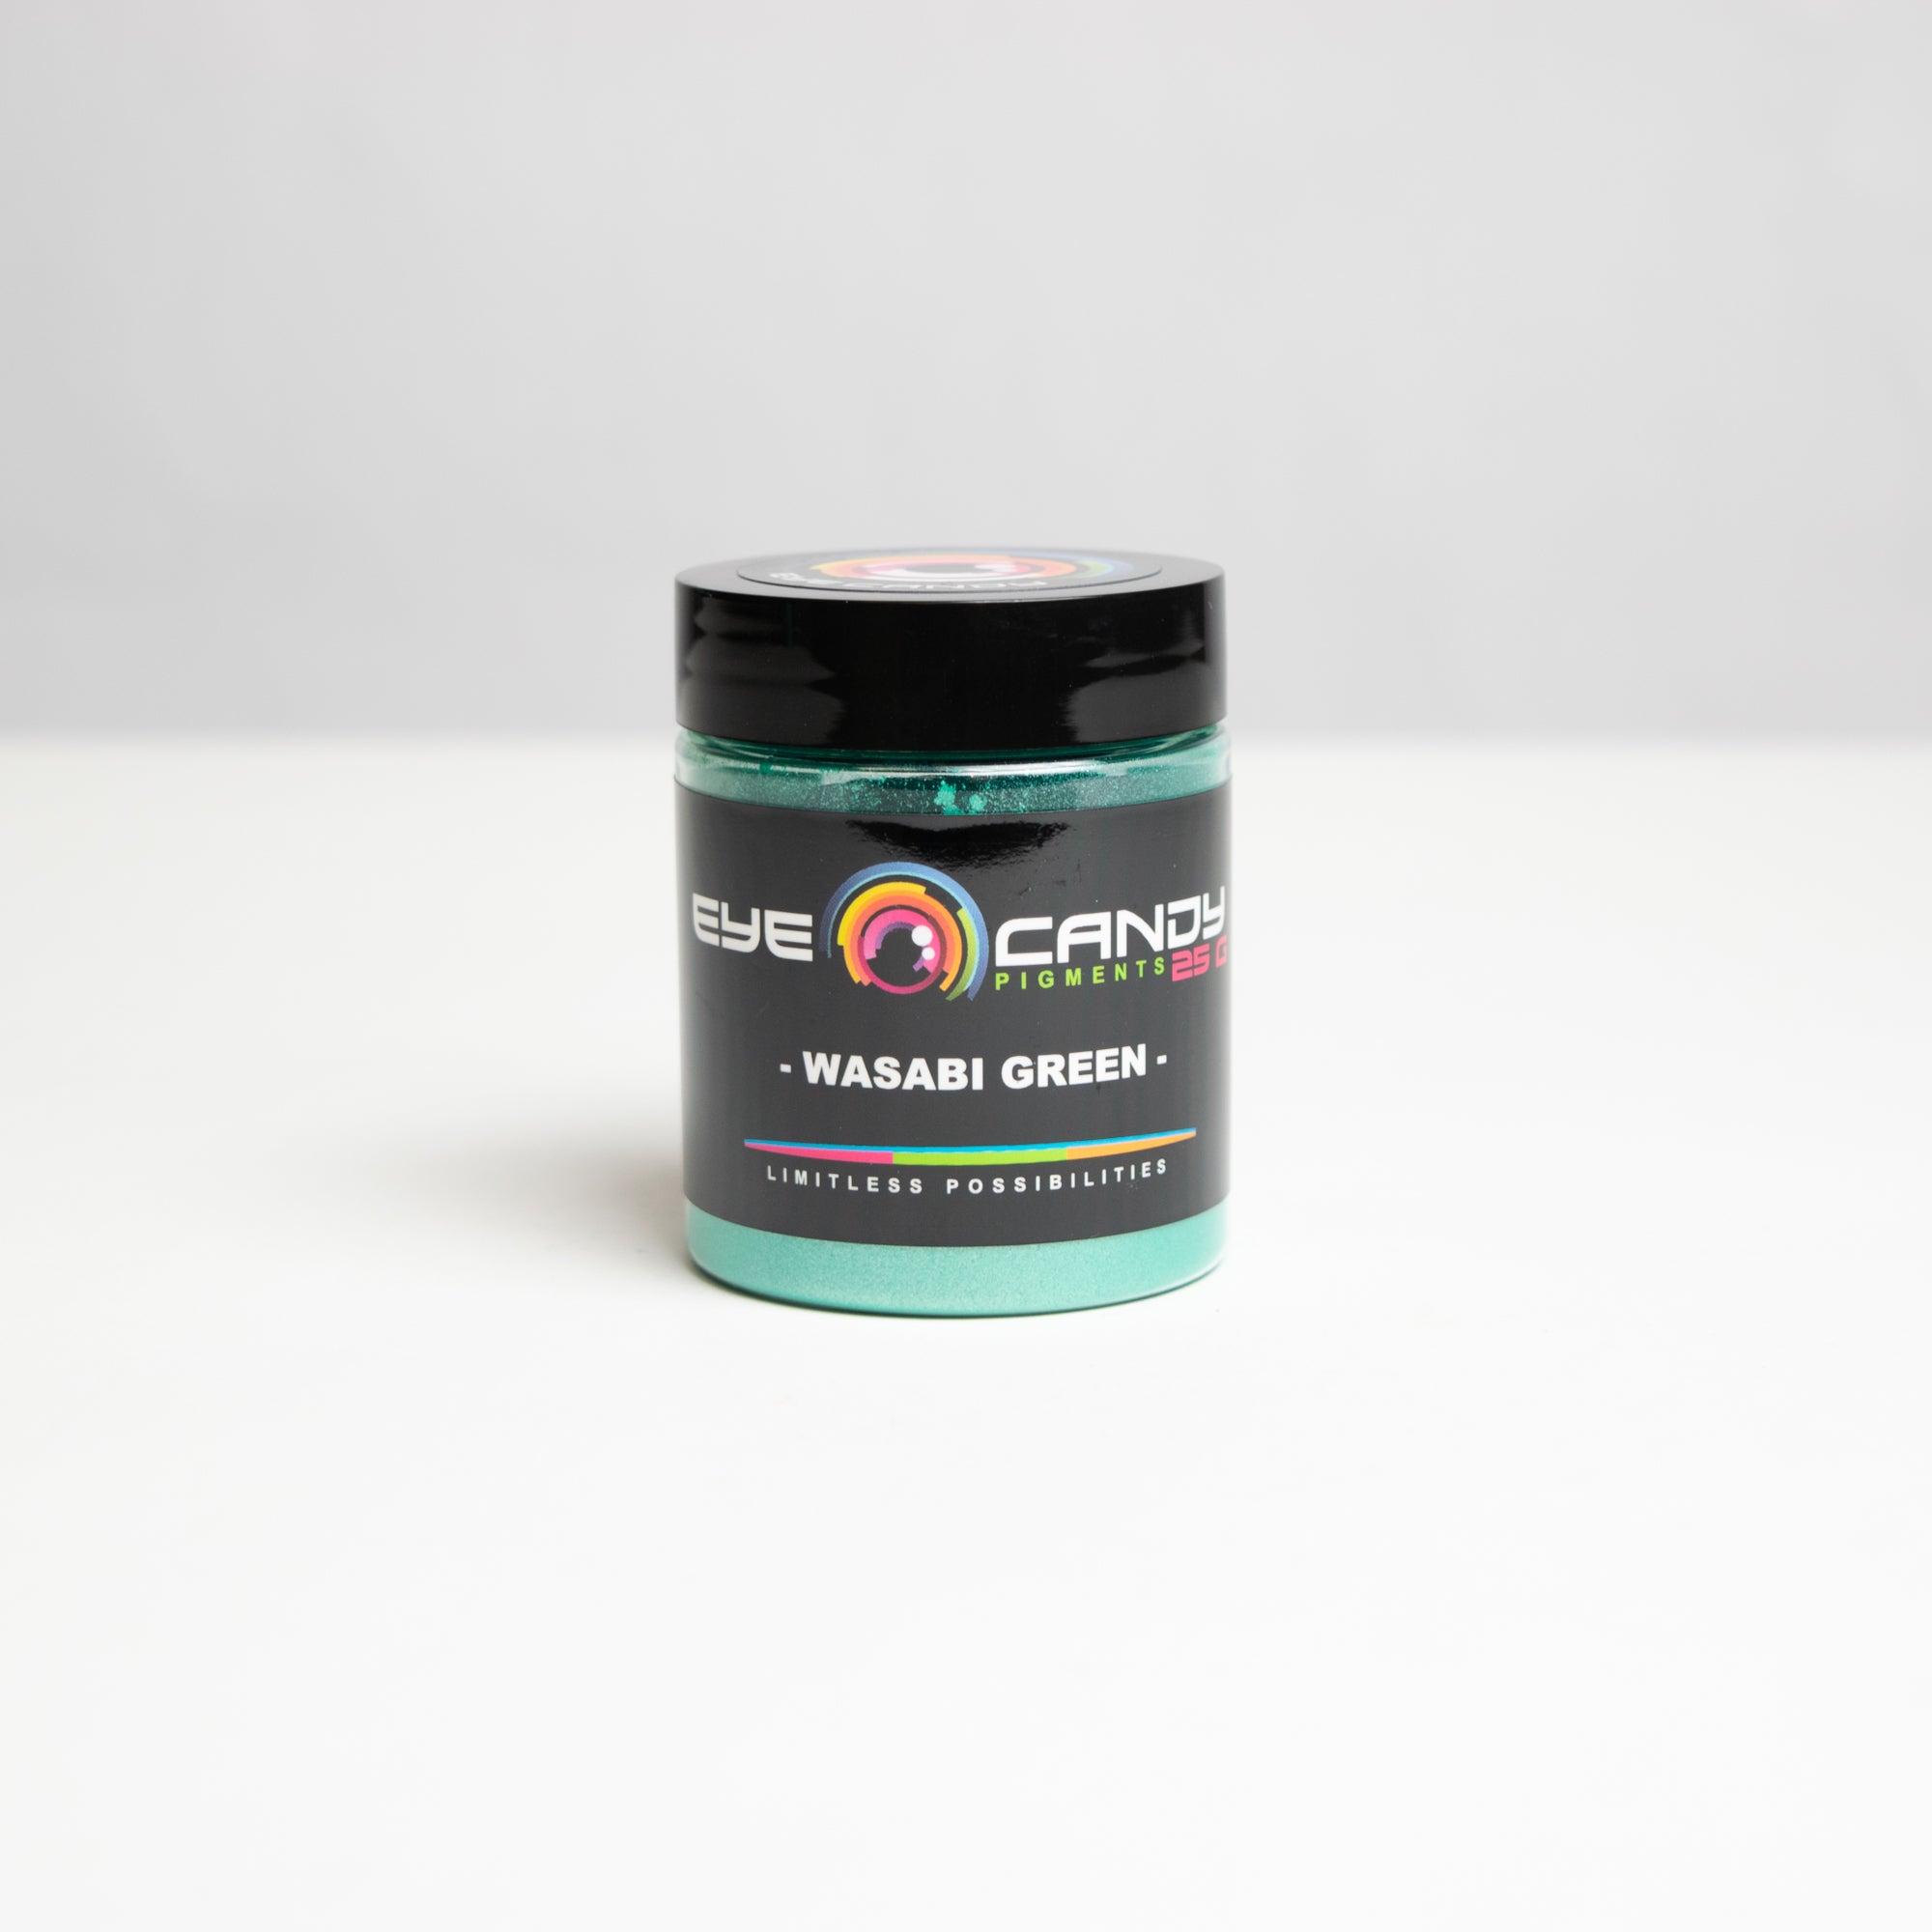
When you’re creating unique bath bomb gifts, the sky’s the limit! Find inspiration for colors, shapes, and scents by considering the recipients’ preferences. For example, you can use color flakes to achieve richly pigmented, shimmering bath bombs. Eye Candy Pigments carries a wide selection of colors created with cruelty-free and FDA-approved formulas.
You can also experiment with essential oil combinations—try floral scents, like lavender or rose, or go for invigorating citrus scents, like lemon or sweet orange. Finally, make your bath bombs extra special by packaging them in lovely gift boxes, organza bags, or even reusable tins.
Step-by-Step Guide
Bath bombs primarily consist of baking soda, citric acid, Epsom salts, essential oils, and coloring. When these ingredients combine and react with water, they produce a fizzy, aromatic, and luxurious bathing experience.
Ingredients
- 1 cup of baking soda
- 1/2 cup of citric acid
- 1/2 cup of Epsom salts
- 1/2 cup of cornstarch
- 2 1/2 tablespoons of coconut oil
- 3/4 tablespoon of water
- 2 teaspoons of essential oil
- Mica color flakes
- Bath bomb molds
- Optional: dried flowers or other embellishments
Steps
- Mix the baking soda, Epsom salts, and cornstarch in a large bowl.
- In a separate, microwave-safe bowl, melt the coconut oil. To the melted oil, add the water, essential oil, and color flakes. Stir until well combined.
- Slowly pour the liquid mixture into the dry ingredients and mix to combine well.
- Add the citric acid and stir slowly into the mixture until combined.
- Pack the mixture into the bath bomb molds very tightly. Use a spoon to press the mixture and ensure you fill the mold completely, leaving no empty space. Let sit for one minute.
- Remove the bath bomb from the mold and place it onto wax paper to dry for 24 hours.
Packaging and Storing
Packaging is another essential aspect of your DIY bath bomb gift. The presentation of your homemade bath bomb gifts can create a stunning first impression, whether you wrap it in cellophane, place it in a decorative tin, or even nestle it in a small wooden box. Be sure to add a personal touch by including a handwritten note, tag, or ribbon to show your loved ones just how much you care.
Store the bath bombs in a cool, dry place to maintain their quality. Moisture or humidity can cause bath bombs to lose their fizz and become less effective. Storing them in an airtight container can prolong their lifespan and keep them fresh and ready to use.


