


The Ultimate Guide to Adding Pigment to Your Slime
Slime’s elasticity and viscosity make it a fun sensory play material for kids of all ages. Squeezing slime can relieve stress and enhance fine motor skills. And since slime demonstrates scientific principles such as viscosity, it’s a fun and effective educational tool, too. This ultimate guide to adding pigment to your slime gives you practical tips to help you make eye-catching creations.
Understanding Mica Powder
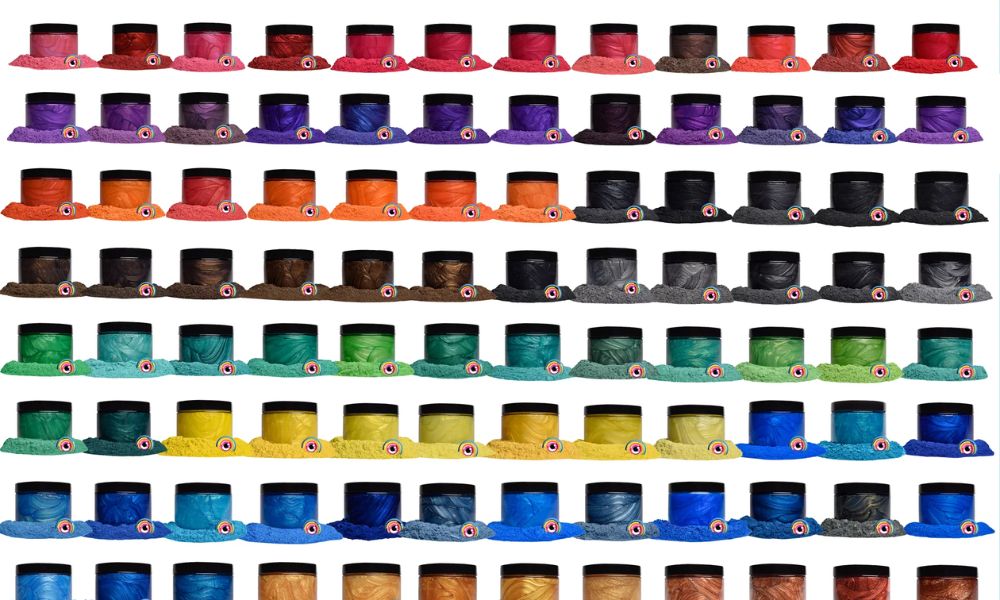
Mica powder is a fine, sparkly substance derived from mica, a naturally occurring silicate mineral with a layered structure. Manufacturers grind mica into a fine powder to create the pigment used in various crafts and cosmetics. Available in a plethora of hues, you can blend mica powders to achieve a spectrum of shades.
Have fun experimenting with mica powder in a variety of colors and effects! Each type of mica powder offers its unique flare—some bestow a metallic finish, while others give off an iridescent or pearlescent look. The type of mica powder you select will influence the slime’s final appearance.
Different mica powders have unique chemical properties that make them safe for specific uses. Read the mica’s product description to ensure you’re choosing a skin-safe product.
Comparing Mica Powder Effects
When choosing mica powder for your slime, remember that color will play a crucial role in achieving your desired effect. Think about whether you want vibrant, eye-popping hues or soft, pastel tones—mica pigment powders come in a wide range of colors to match any preference.
Want to add a mesmerizing twist? Eye Candy Pigments offers color-shift, ghost, and glow-in-the-dark pigments that make your slime one of a kind.
Colorshift pigments have a holographic finish, changing the apparent color of the slime depending on the viewing angle. Ultrashift pigments create a more dramatic color shift.
Our ghost mica powder has a mother-of-pearl effect. When used over a white slime base, ghost mica powder makes the slime look elegantly iridescent. Lastly, glow-in-the-dark pigments make slime shine brightly in the dark, adding a fun element of surprise.
Gather Materials and Prep the Workspace
Gathering all necessary materials before starting your slime project prepares you for a smooth, uninterrupted crafting experience.
For pigmented slime, you will need:
- Clear or white PVA glue (adhesive base)
- ¼ borax powder dissolved in ½ cup water
- If you don’t have borax powder, you can use ¼ to 1/2 cup of liquid starch
- Mica powder in desired colors
- Measuring and mixing tools
- Water
- Protective wear
- A plastic tablecloth or newspaper
Cover your work surface with a plastic tablecloth or newspaper to make cleanup easier. You can wipe mica powder off surfaces with a cleaning wipe or warm water and dish soap.
Prepare the Slime Base
A well-prepared slime base is crucial for the perfect squish and pull. The amount of glue you mix with water and then with the activator depends on the volume of slime you want to create.
You can start with 1/2 cup of clear or white PVA glue. Slowly add 1/4 cup of water to the glue, stirring continuously until the mixture is uniform. The water dilutes the glue and makes it easier to mix with the activator for a smoother slime.
After mixing the glue and water well, gradually incorporate two to four tablespoons of your chosen activator. Add the activator teaspoon by teaspoon, stirring consistently, until the slime begins to form and pull away from the sides of the bowl. The amount of activator you need depends on the brand and your desired slime consistency.
Tips for Adjusting the Consistency
If your slime base is too sticky, knead small amounts of activator to make it firmer. If the slime base is too rigid, add more glue to loosen it. If your slime has a lot of air bubbles, allow it to sit undisturbed for a couple of days. Over time, the bubbles will rise to the surface and pop, resulting in a clearer, smoother slime.
Note that various slime textures require different ratios, ingredients, and strategies. If you’re looking to sell pigmented slimes, experimenting with these adjustments will allow you to replicate fan-favorite textures and create slimes the market hasn’t seen before.
Incorporating Mica Powder into Slime
Now comes the magical moment—infusing your slime base with your chosen mica pigment. Sprinkle the pigment over your slime base. Next, gently stretch and fold the slime to distribute the mica evenly. Adding the powder gradually and methodically prevents clumping and ensures your slime has a uniform color.
For those looking to experiment, blending different mica powder colors can yield mesmerizing results. However, be mindful of proportions, as too much pigment might affect the slime’s texture. Play with variations to achieve the hue and shimmer you want.
A Little Pigment Goes a Long Way
Add mica powder a pinch at a time to avoid overloading the slime. If you add too much mica powder to the slime base, the slime may become more brittle, losing its stretchiness. Excessive mica can also leave shimmer and color on hands after handling because of a failure to fully incorporate it into the slime. Create more slime base and fold it into your pigmented slime to remedy the issue.
Tips for Storing Mica Powder Slime
To keep your mica powder slime vibrant and fresh, store the slime in an airtight container. This slows the drying process, preserving your concoction’s moisture and consistency. Make sure your containers are clean and dry before tucking the slime away for future play.
Choosing clear containers is also wise, as this allows the beauty of your mica-infused slime to shine through even when not in use. By maintaining the integrity of your slime’s texture and appearance, you ensure it remains a delightful sensory toy time and time again.
Follow this guide to add pigment to slime and transform this tactile material into an extraordinary visual craft. Preparing the base correctly and incorporating the pigment are crucial steps to achieving the perfect consistency and color blend. Encourage kids to engage in creative play by stretching, pulling, and molding the slime into various shapes and figures, which can boost their imagination and hand-eye coordination. For an educational twist, integrate the slime into science experiments to explore concepts such as non-Newtonian fluids and polymer science and make learning both fun and interactive.
Share