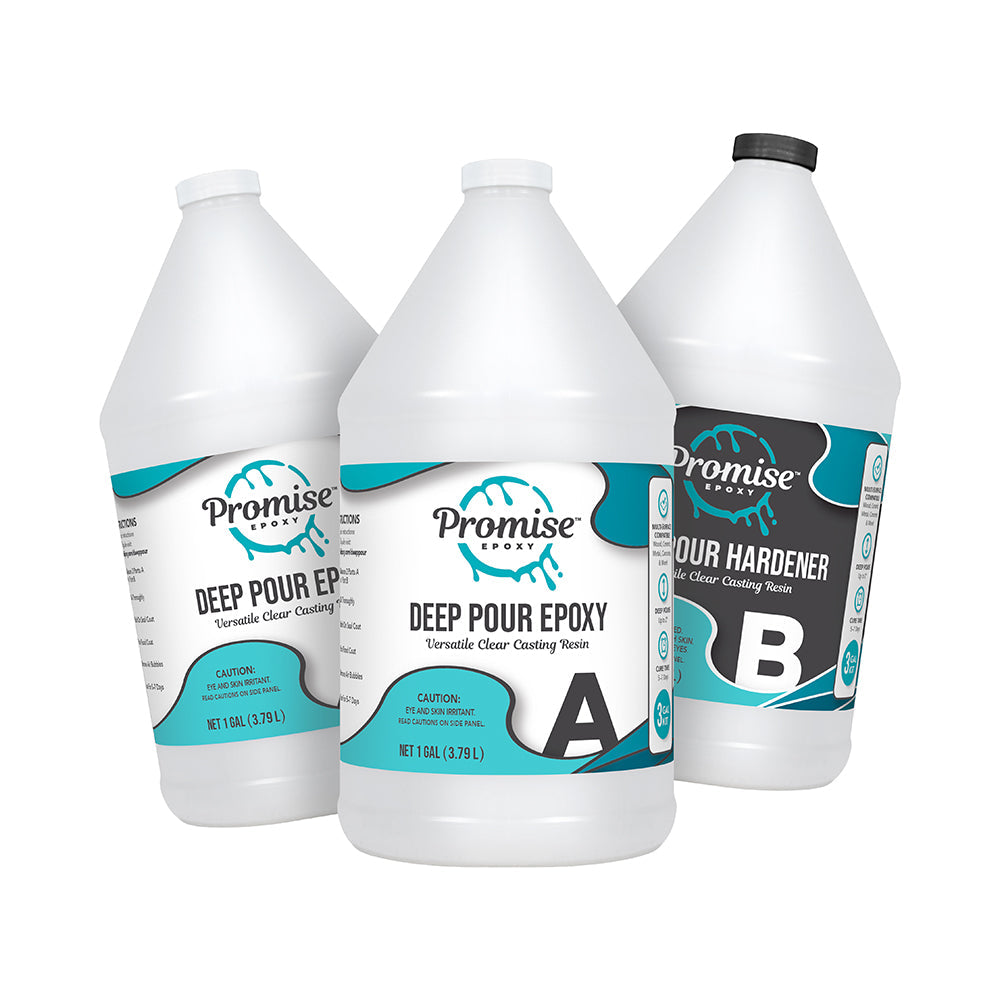
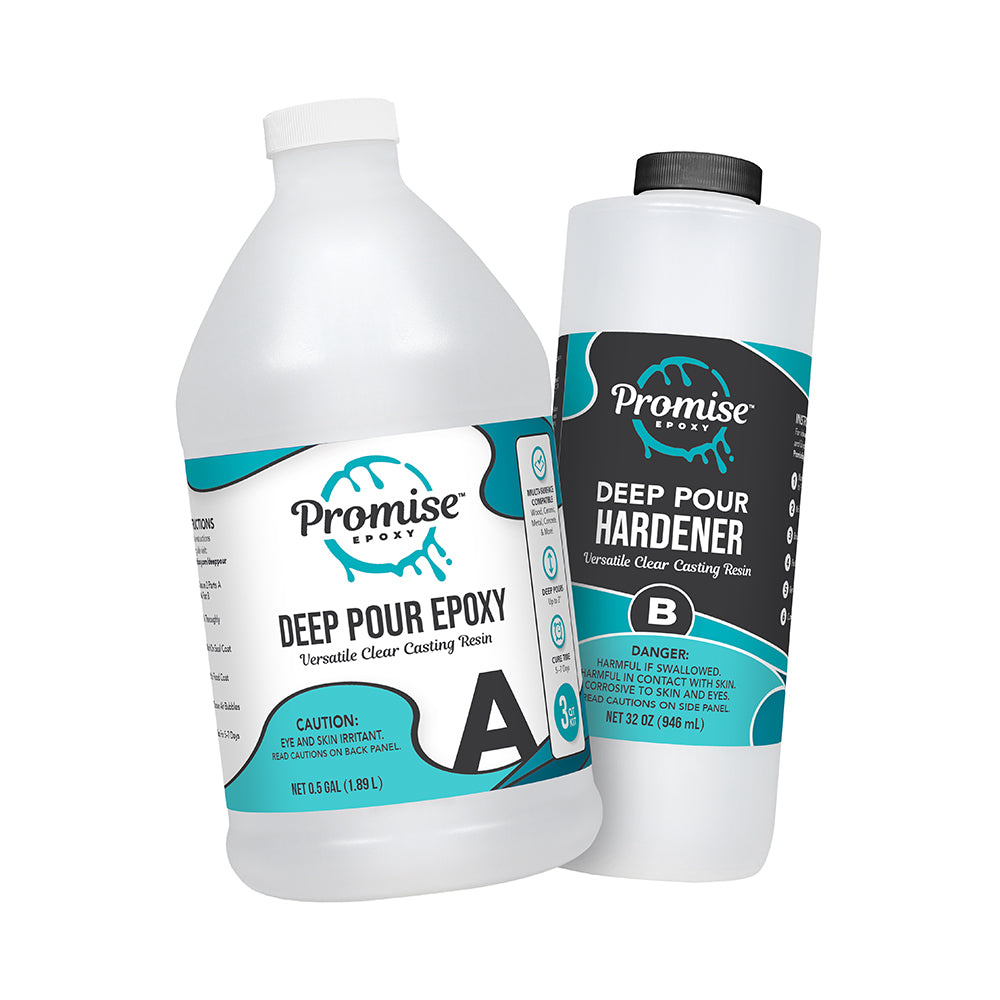
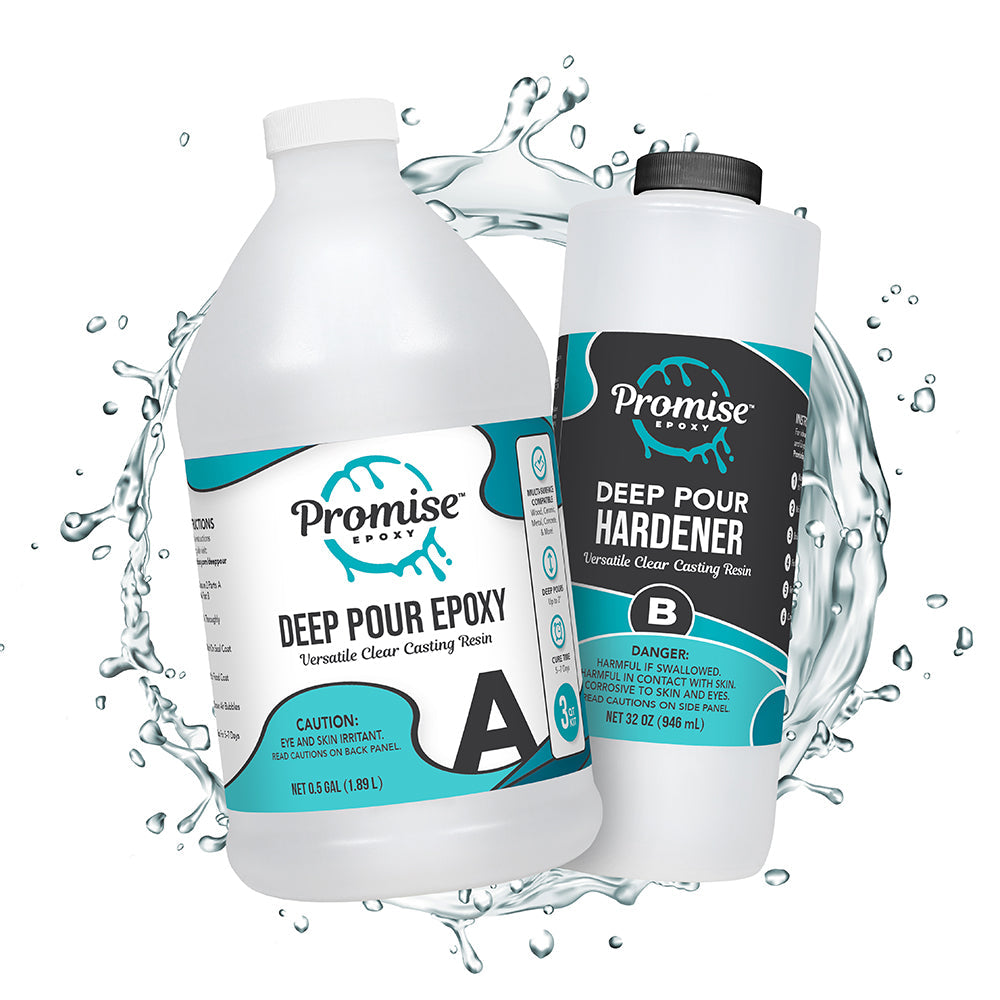
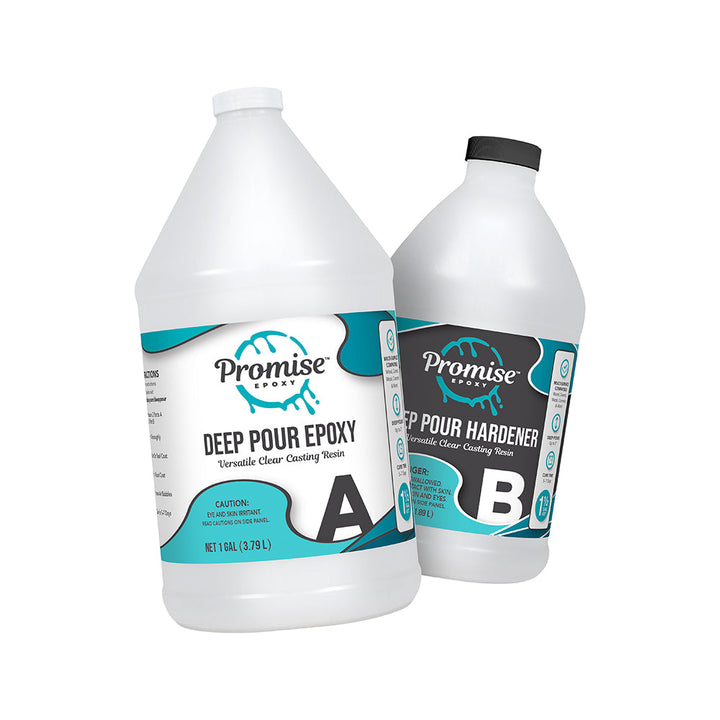
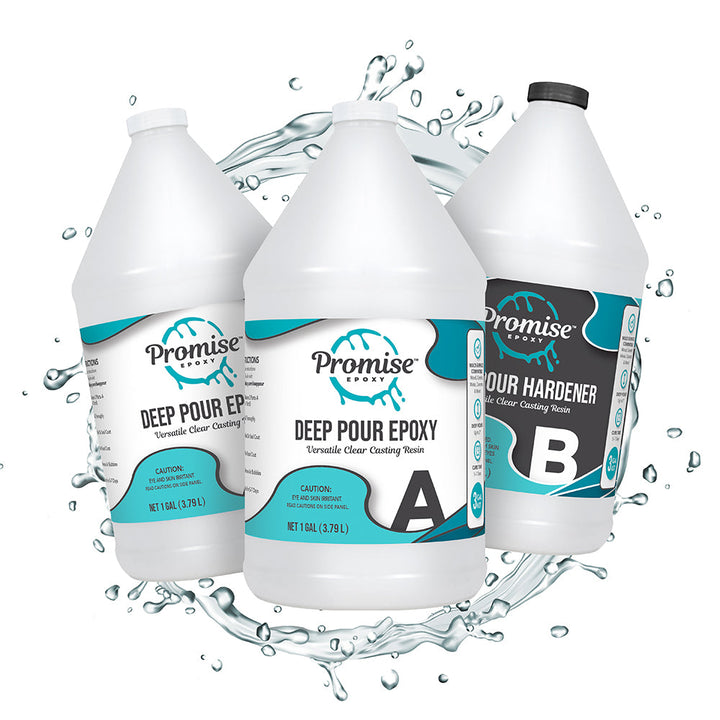
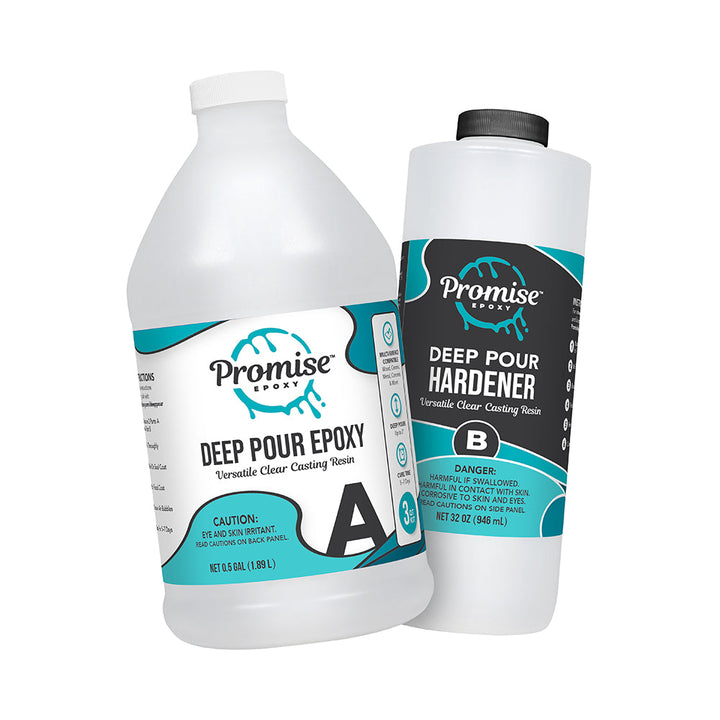
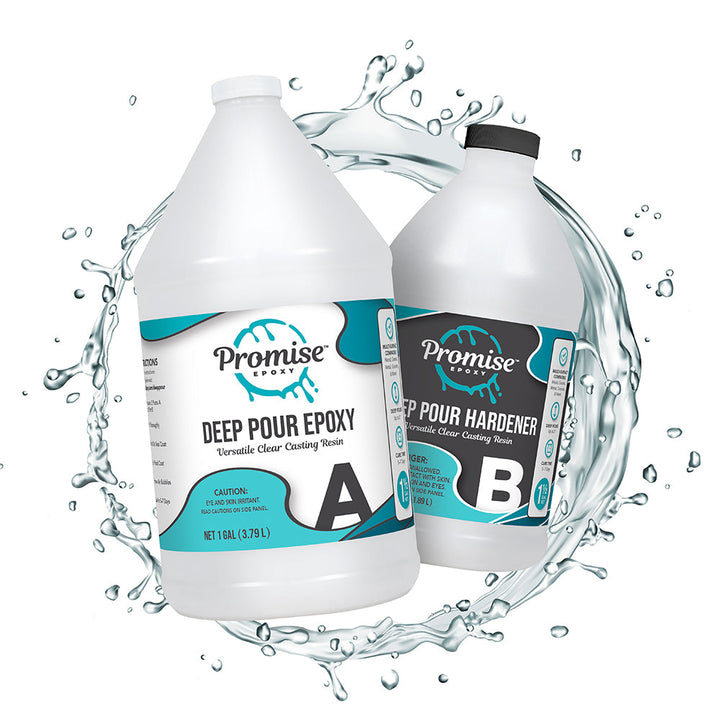
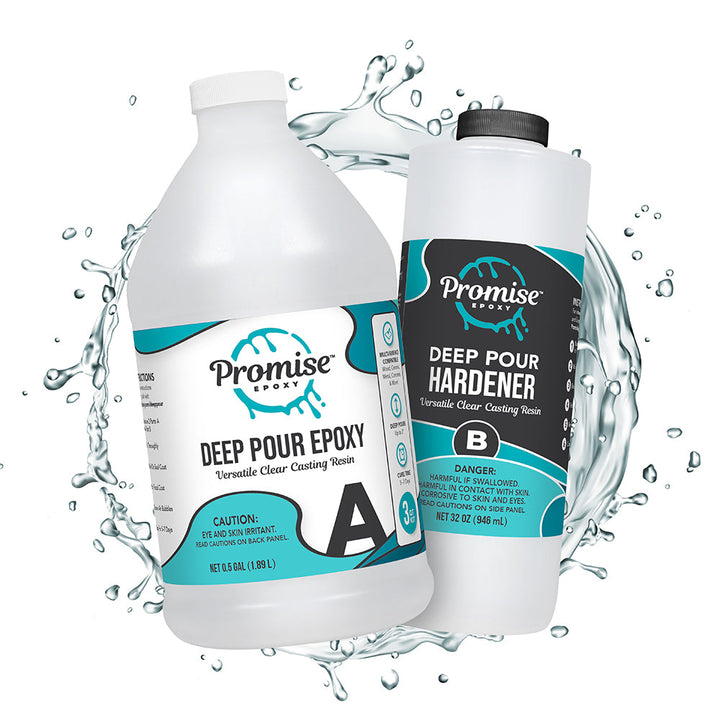
PROMISE DEEP POUR EPOXY RESIN: TRANSFORM YOUR DIY PROJECTS WITH CRYSTAL CLEAR RESULTS
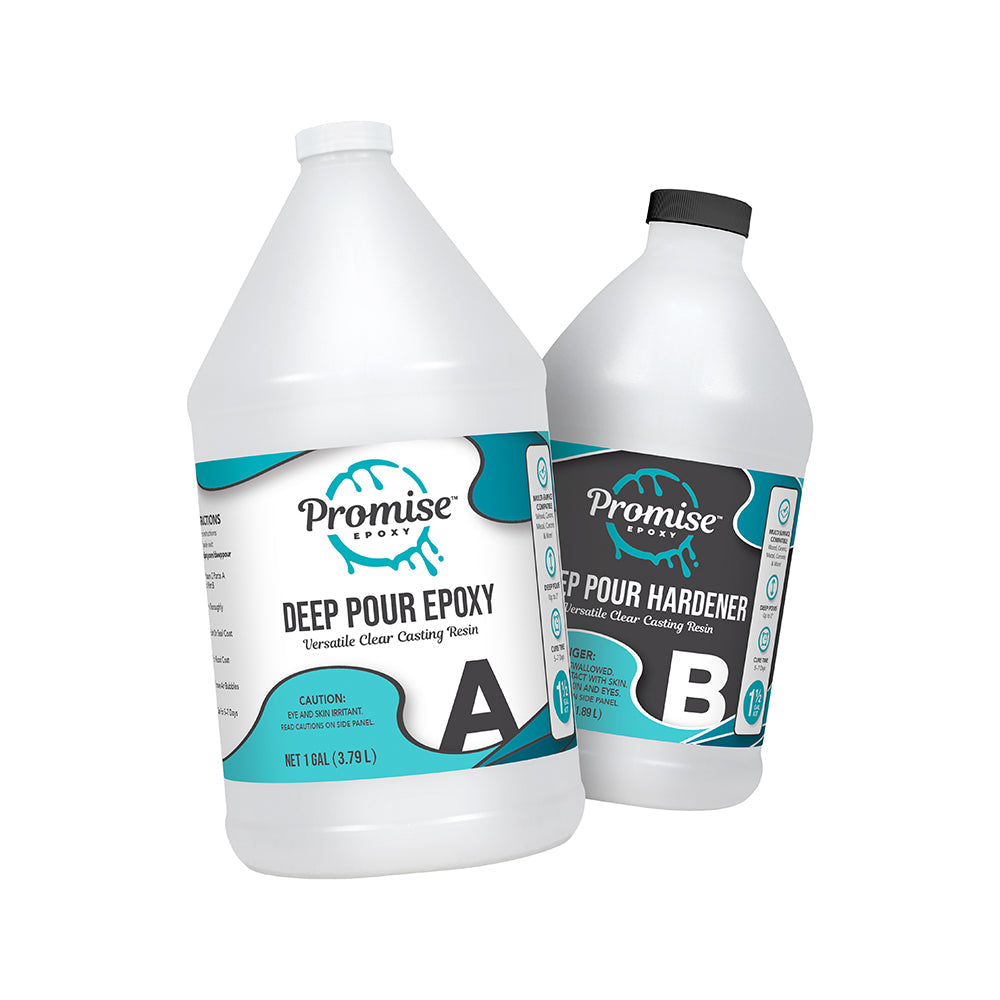
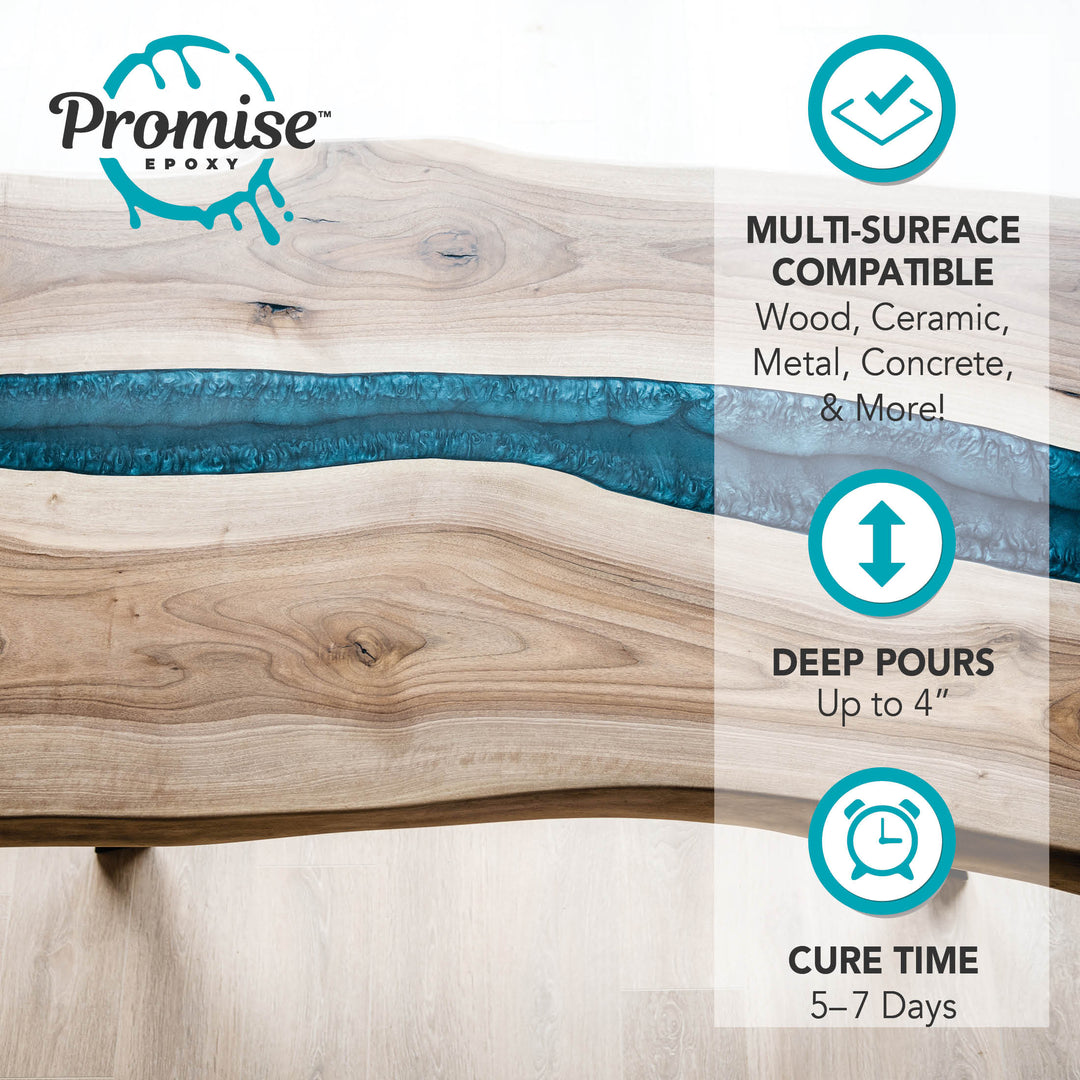
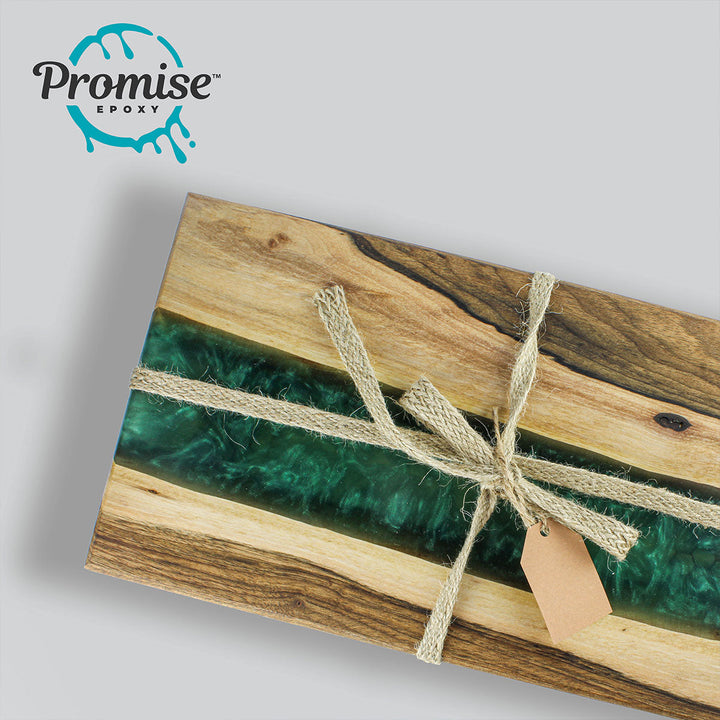
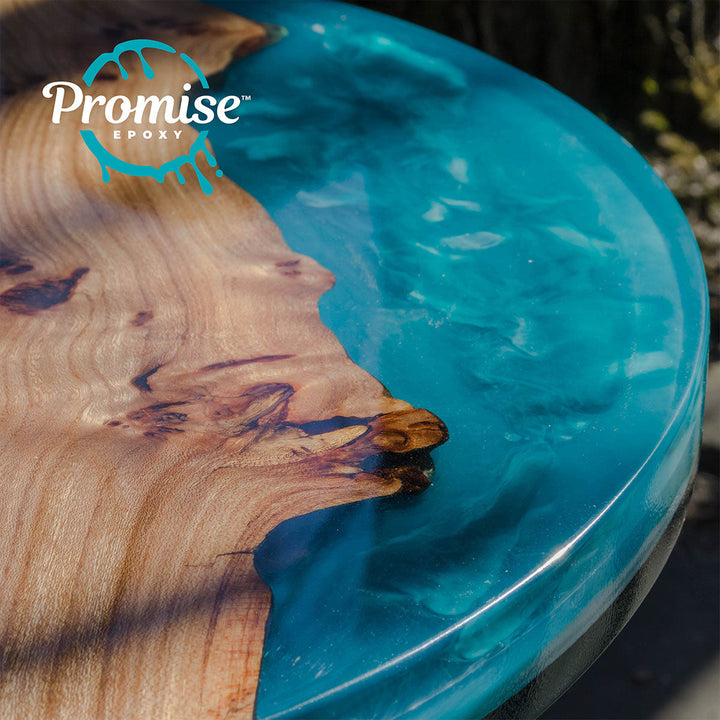
Are you searching for the best epoxy resin for creating stunning river tables, artistic resin pours, or embedding cherished keepsakes? Look no further! Promise Deep Pour Epoxy Resin is your go-to solution for achieving glasslike finishes in a variety of DIY projects and home décor.
FEATURES & BENEFITS OF OUR DEEP POUR EPOXY RESIN
2:1 Mixing Ratio:
Promise Deep Pour Epoxy Resin is simple to use with a 2:1 mixing ratio, ensuring the perfect blend every time. With its low viscosity and extended working time, even beginners can achieve professional results.
Long Working Time:
Forgiving and easy to work with, Promise Deep Pour Epoxy Resin offers a long working time for effectively eliminating bubbles and other imperfections. Get that perfect glasslike finish without the stress!
Self-leveling:
Achieve a professional, high-gloss finish with ease as the resin self-levels, resulting in a smooth surface.
High-gloss Finish:
Add a touch of elegance to your projects with our epoxy resin's high-gloss finish.
Compatible with Pigments and Dyes:
Get creative with your color choices by mixing this versatile epoxy resin with mica powders, pigments, and dyes.
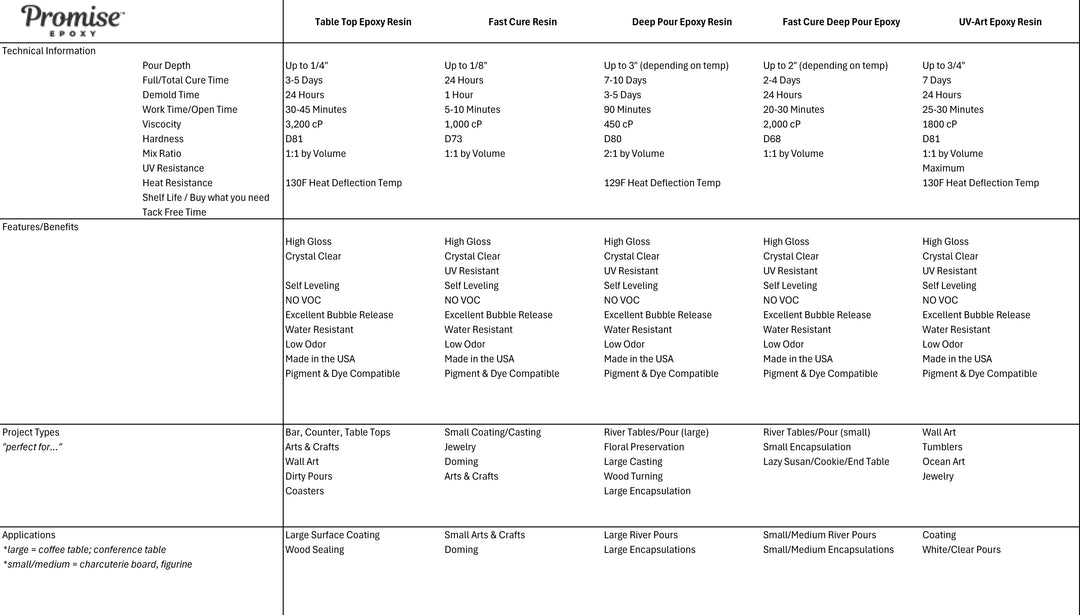
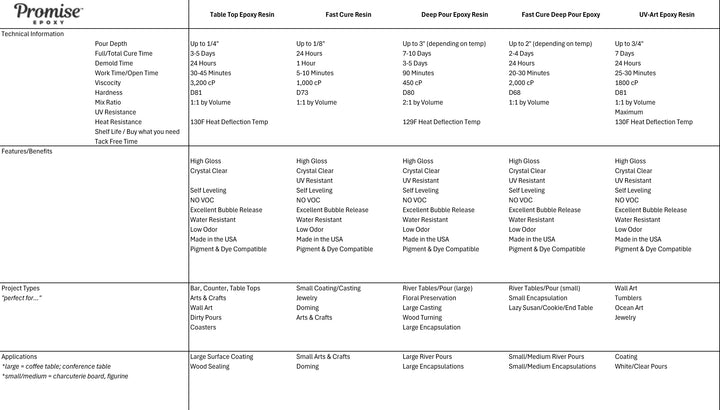
Deep Pouring Depth of 2":
With a pouring depth of 2", our deep pour epoxy allows you to encase objects securely and seamlessly in clear casting resin, preserving their beauty for years to come.
Proven & Tested Formula:
Our Promise Deep Pour Epoxy Resin was developed through extensive research and testing, guaranteeing a high-quality, dependable formula for all your casting and encapsulating needs.
HOW CAN YOU GET MORE CRYSTAL CLEAR RESULTS?
Wondering how to polish resin? The perfect pair for the best finished results on our deep pour casting resin is our Promise Pro Polish & Cleaner. The kit includes instructions on how to properly sand down your project and apply the polish and cleaner for a gorgeous finish.
NEED MORE INFO ON HOW TO USE DEEP POUR EPOXY RESIN?
If this is your first time using a resin and hardener? There are probably a ton of questions like:
How much resin should I use? How much epoxy should I use?
How time consuming will this project be?
What is the best practice for my environment?
Do I need a heat gun? How can I get rid of air bubbles?
What surfaces can I work with when build a deep pour epoxy resin project?
Is my epoxy UV resistant?
We've got you covered. Each deep pour epoxy kit comes with clear instructions to help guide you through the process. You can also check out our FAQ page for detailed questions and answers. Don't be afraid to use our epoxy calculator resource to find the perfect epoxy coverage for your project.
PAST INCREDIBLE SOLUTIONS POURABLE PLASTIC USER?
Promise Epoxy uses the same resin and hardener as Incredible Solutions Pourable Plastic Epoxy Resin. The merger of ProMarine and Incredible Solutions took the best of each product line like ProMarine's Table Top and Incredible Solutions Pourable Plastic Deep Pour, UV Art, & Polish and Cleaner.
Notes: All epoxy has natural color variations or tint and the color of the substrate the epoxy is applied to may accentuate this effect as well. White surfaces are always the most challenging to work with regarding epoxy tint. After all, "white" itself has multiple tints. The appearance of a white surface coated with epoxy is also influenced by lighting. For instance, there may be a dramatic aesthetic difference between LED "daylight" bulb lighting compared to "Soft/Warm" lighting.
This product is not intended for outdoor use.
Your ideas. our support.
At Promise Epoxy, we're not just committed to delivering quality products; we're dedicated to fostering a community of creativity and collaboration.
We believe in inclusivity and the power of shared ideas. Whether you're embarking on an exciting project and need some guidance on the best epoxy products to use, or you're looking to expand your small business or personal brand through a partnership with us, we're all ears! Your projects, dreams, and goals matter to us. And if you have any questions about your order, shipping details, or anything else, our friendly team is here to provide the support you need.
Drop us a message – we're excited to hear from you and be a part of your creative journey!
✉️ info@promiseepoxy.com
📞 (888) 792-3579
Are you searching for the best epoxy resin for creating stunning river tables, artistic resin pours, or embedding cherished keepsakes? Look no further! Promise Deep Pour Epoxy Resin is your go-to solution for achieving glasslike finishes in a variety of DIY projects and home décor.
2:1 MIXING RATIO: Promise Deep Pour Epoxy Resin is simple to use with a 2:1 mixing ratio, ensuring the perfect blend every time. With its low viscosity and extended working time, even beginners can achieve professional results.
LONG WORKING TIME: Forgiving and easy to work with, Promise Deep Pour Epoxy Resin offers a long working time for effectively eliminating bubbles and other imperfections. Get that perfect glasslike finish without the stress!
SELF-LEVELING: Achieve a professional, high-gloss finish with ease as the resin self-levels, resulting in a smooth surface.
HIGH-GLOSS FINISH: Add a touch of elegance to your projects with our epoxy resin's high-gloss finish.
COMPATIBLE WITH PIGMENTS AND DYES: Get creative with your color choices by mixing this versatile epoxy resin with mica powders, pigments, and dyes.
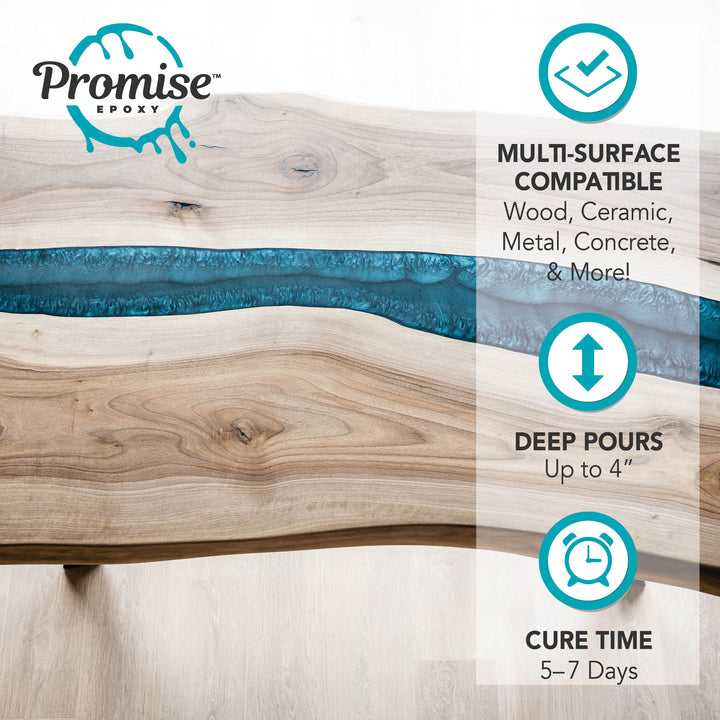
DEEP POURING DEPTH OF 2": With a pouring depth of 2", our deep pour epoxy allows you to encase objects securely and seamlessly in clear casting resin, preserving their beauty for years to come.
PROVEN & TESTED FORMULA: Our Promise Deep Pour Epoxy Resin was developed through extensive research and testing, guaranteeing a high-quality, dependable formula for all your casting and encapsulating needs. 2:1 Mixing Ratio: The straightforward 2:1 mixing ratio and simple application process make this epoxy resin perfect for beginners and experienced DIYers alike. The curing process for our Deep Pour Epoxy Resin is 48 hours. Our Promise Deep Pour Epoxy Resin ensures the most accurate and easy-to-understand mixing process, making it perfect for beginners and experts alike.
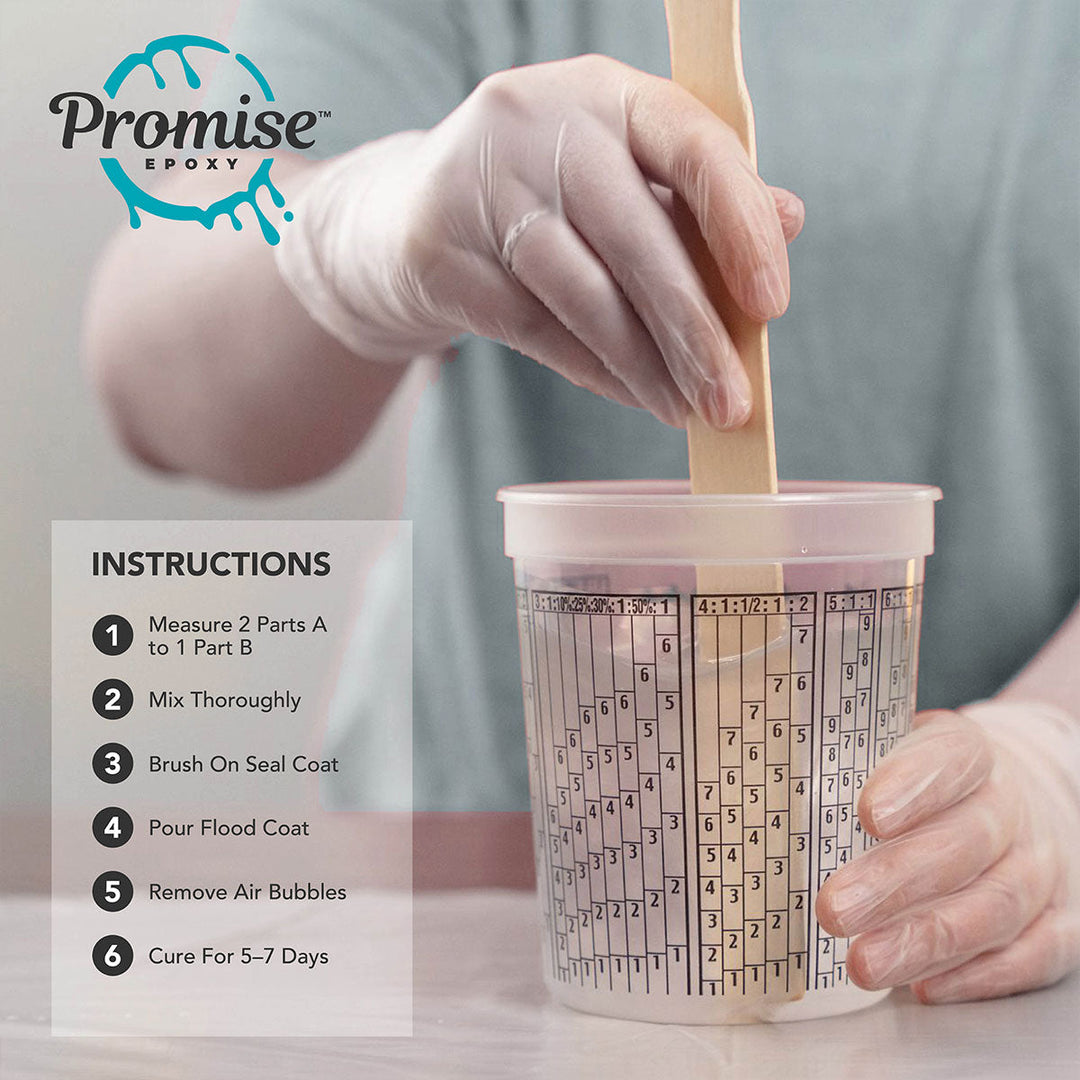
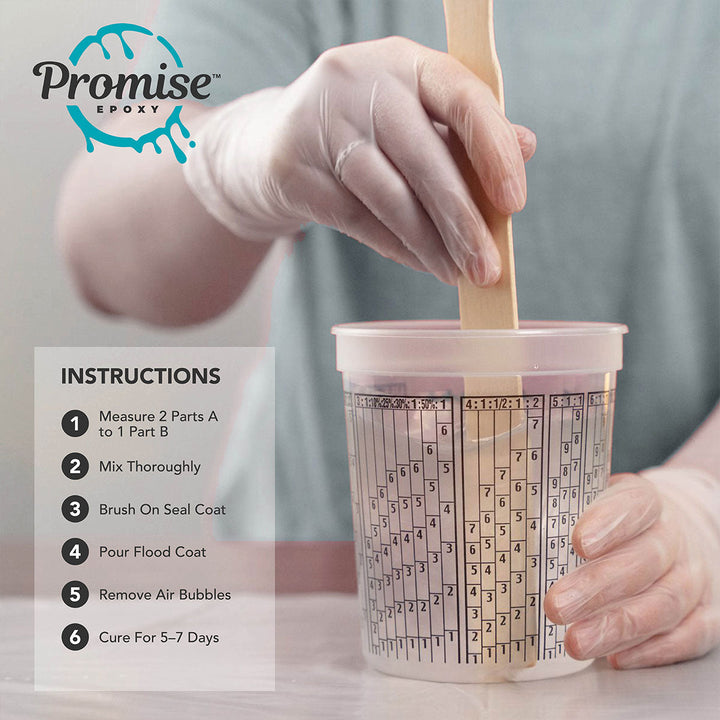
1. Measure 2 parts A to 1 part B
2. Mix thoroughly
3. Brush on seal coat
4. Pour flood coat
5. Remove air bubbles
6. Cure for 5-7 days
Deep Pour Epoxy Resin Full Instructional Guide
Advisory Notes:
We strongly recommend that all of these instructions are thoroughly read BEFORE working with epoxy resin.
This product is not intended to be used with or over any oil-based products.
Not intended to be poured in layers of less than 1″
This product is not intended for permanent outdoor use or direct UV exposure. It does contain UV inhibitors to help resist yellowing, but all epoxy products will eventually begin to yellow. This includes base resin, current agent, as well as the finished products.
All epoxy has natural variations in color/tint, which may be accented by the color of the surface to which the epoxy is applied. White surfaces, for instance, are always the most challenging in terms of highlighting epoxy hue variations.
Damming ~ because this is such a thin material, you must have a watertight frame. Any cracks/crevices/holes may need to be sealed before pouring to prevent leaking and ultimately losing product.
Why is this happening? As soon as the two parts of epoxy and resin are combined, the exothermic reaction that leads to eventual curing, begins. The process of pouring the mixture onto a surface – spreads out the epoxy – so it may undergo its reaction as expected. When the mixture is confined – as in a mixing vessel – the reaction is intensified and will occur in a much faster and concentrated manner. This leads to excessive heat and possibly smoking. This also occurs during a deep pour over the recommended depth.
Seal coat(s) if needed: A thin seal coat may be necessary when working with a porous surface or object. Some surfaces may contain both air and moisture that can contaminate the finish. We suggest applying a thin coat of Table Top Epoxy as a seal coat.
Step 1: Prepare 2 parts Resin (Part A) and 1-part Curing Agent (Part B) by liquid volume. Pour the Curing Agent first and then the Base Resin into a clean, smooth-sided container large enough to hold all of the liquid, allowing room for mixing without spillage. Using graduated mixing containers help to ensure properly measured amounts of Part A and B. Any variance in this mix ratio may result in curing issues.
Step 2: The material must be mixed thoroughly for at least 5 full minutes. Be sure to scrape the sides, corners, and bottom of the container as you mix. Be careful not to whip excessive air into the mixture. We recommend hand mixing with a stirrer stick or silicon spatula. If you chose to use a power mixer set to “hand speed.” Do not mix more than 3 gallons at one time. If you need to mix several batches, be sure to use a clean, dry container for each batch. Using the same container may lead to curing issues.
Step 3: Pour the mixed resin into the mold or frame of your project. DO NOT scrape out the last of the resin onto your project as unmixed epoxy on the sides or bottom of the container could contaminate your project, leading to curing issues. Multiple thinner pours of may be necessary when pouring large quantities.
Step 4: To remove air bubbles that have risen to the surface of the poured resin, use a heat gun or torch in a sweeping motion across the surface, holding the heat source approximately 6″–10″ away from the surface until no bubbles remain. Avoid heating any one spot for too long to prevent any distortions in the finish.
Step 5: Curing times can vary greatly by project, depending on mass and temperature. Gel time ranges between 18–24 hours, and cure time may range between 36–72 hours. Full cure and maximum hardness can require up to 7 days. Do not use or place any items on your project during this time.
Step 6 (optional): If you are going to make a second pour, the first pour should be firm but tacky to the touch (roughly 48 hours). If you wait until the surface is well cured, a light sanding is suggested before the re-coat to ensure proper adhesion. We suggest scuffing the surface with 320-grit. Once sanded, clean the surface thoroughly with Isopropyl Alcohol 99% to remove any dust and debris.
Working Conditions/Temperature – Optimal product working temperature is 65°F–75°F. The product must be stored, mixed, applied, and cured for 24-36 hours at 65-75°F—with a full cure for deep pours taking 48 hours or more. THIS IS A REQUIREMENT to achieve desired results. If the product has been exposed to cold temperatures, acclimate by placing jugs in a warm water bath. Climate controlled conditions are required to properly work with epoxy to control both temperature and humidity levels, affecting both working time and proper curing.
Safety – This product has no Volatile Organic Compounds (VOCs); however, we recommend working with epoxy resin in a well-ventilated area. We also recommend protective eyewear and gloves when working with the product. NOTE: Some people may be more sensitive to epoxy than others – and may wish to wear a ventilator when using the product. For skin contact, wash with soap and warm water. If the epoxy comes in contact with eyes – do not rub – and flush with water for 15 minutes repeatedly. If irritation persists, seek medical attention immediately. Please contact us for a Materials Safety Data Sheet.
Surface Preparation – The work surface should be free of any dirt, dust, oils, or grease. Denatured alcohol or acetone can be used to clean the surface with a lint-free rag. Your surface should be level so the epoxy can self-level. The room you are working in should be clean, dry, dust and insect-free. Settling dust can cause imperfections on the surface of the epoxy as it is curing.
Application & Curing Tips
Edges & Drips – The casting resin pour can be allowed to run over the sides (when making a river table, for instance), which will create a coating on the vertical edges. These vertical edge coat will not be as thick as the top surface coating; so, manipulation with a brush to keep the layer even is suggested. Drips will form underneath the bar-rail or edge; these drips can be sanded off once the epoxy has cured. Or, if you catch the epoxy when still soft during the curing process, drips may be cut or scraped off.
Air Bubbles – Once the entire surface has been covered with an epoxy resin coat, the process of releasing/removing air bubbles may begin. The best tool for removing bubbles is a small propane torch. (A heat gun may also be used but takes a bit more practice to manipulate as easily and effectively as a torch.) Hold the flame approximately 6–10 inches away from the tabletop and quickly sweep across the entire surface using a waving motion. The heat from the torch/gun will allow for the release of the air bubbles.
NOTE: it is best to intermittently check the surface for bubbles for up to an hour using a torch (or heat gun) as needed.
Curing – Curing times can vary greatly by project, depending on the masks and temperature. The gel time range is between 18–24 hours, and cure time may range between 36–72 hours. Full cure and maximum hardness can require up to 7 days. Do not use or replace any items on your project during this time.
Heat Resistance – The heat resistance, once fully cured, is approximately 120°F. The use of coasters and place mats is recommended to protect tabletop surfaces and reduce heat transfer.
How do we package our epoxy?
Our resins and hardeners are packaged in plastic jugs up to one gallon in size and with a sealed top. Multiple gallon kits are still shipped in gallon increments. We take great pride in our packing methods which are followed for every box we ship. This means your shipment virtually always arrives intact and damage free.
~
Shipping & Handling Times?
Shipping time is dependent on what item was purchased, how heavy the order is, and how far away you live from our shipping facilities.
We are proud that we can offer our customers a free shipping option that saves them money. Typically, this free shipping method takes about 2–3 business days, but can sometimes be longer by up to 5 business days. Larger orders that require freight can take up to 14 business days.
If you have any questions regarding shipping or handling, please feel free to contact us.
info@promiseepoxy.com
1-833-769-9776
Customer Service Hours of Operation
Monday–Friday
9 AM–5 PM Eastern Time
Holidays will affect handling time. Promise Epoxy recognizes all holidays that our shipping carriers recognize. For more information, please check the shipping carrier’s website for the holiday schedule.
~
What if my epoxy freezes during shipment?
Our testing has shown that epoxy freezing for a short period of time is not harmful to the product and will properly cure. You must bring the product back to its natural state. We strongly suggest not storing the epoxy anywhere which could result in freezing for more than a few days.
Returns Policy
You may return most new, unopened items within 30 days of delivery for a full refund. We'll also pay the return shipping costs if the return is a result of our error (you received an incorrect or defective item, etc.).
You should expect to receive your refund within 4 weeks of giving your package to the return shipper; however, in many cases, you will receive a refund more quickly. This period includes the transit time for us to receive your return from the shipper (5–10 business days), the time it takes us to process your return once we receive it (3–5 business days), and the time it takes your bank to process our refund request (5–10 business days).
If you need to return an item, simply contact us at info@promiseepoxy.com so we can process a return request and send you a return label.
International Orders and Returns
There will be no returns accepted for international orders. Additionally, because a shipping forwarder is used for international orders, shipping times may vary and change, as the transit time is longer and is shipping from inventory located in the United States. Shipping/delivery time is never guaranteed on International orders.*
*Please also consider transit time from our warehouse to our shipping forwarder (2–3 business days).
Same-day shipping only applies to orders placed in the United States.
Are the packages insured?
By default, all international shipments are insured. We insure for loss of delivery, damages during transit, and shortfalls (such as if some items are missing). We will need some proof (usually a photo) from the consignee to file a claim. We settle all claims 45 days after the shipment was dispatched. We have to wait for 30 days to make sure that the delivery is not misrouted.
Handling Times
Orders placed before 1pm EST will typically ship same day.
Our standard lead times are two business days for ground packages and two weeks for freight shipments. We know you’re eager to get your order, so if there’s an opportunity to ship your package sooner, we’ll make it happen. While we aim to meet or exceed these timelines, please keep in mind that factors such as order size and shipping destination may affect delivery times. If you have any questions about your order or need assistance, our support team is always here to help.
Customer Service Hours of Operation
Monday-Friday
8 AM – 8 PM EST
Holidays will affect handling time. Promise Epoxy recognizes all holidays that our shipping carriers recognize. For more information, please check the shipping carrier website for the holiday schedule.
Shipping Times
Shipping time is dependent on what item was purchased, how heavy the order is, and how far away you live from our shipping facilities.
If you choose any of our free shipping methods, then we will ship the order out as economically as possible based on these US carriers: FedEx. We do not allow our customers to specify which carrier we use. If you desire, you can select from multiple shipping methods at the checkout section. Shipping fees will be charged accordingly.
We are proud that we can offer our customers a free shipping option that saves them money. Typically, this free shipping method takes about 2–3 business days, but can sometimes be longer by up to 5 business days.
If you have any questions regarding shipping or handling, please feel free to contact us.
info@promiseepoxy.com
1-833-769-9776
Of course! Deep Pour’s formula is designed for both beginning crafters as well as established artisans. The lighter viscosity enables easier handling and longer working time for projects—from river tables to encasing memorabilia into lasting objects and memories. Please also know that we have a customer service team that can walk you step-by-step through the application process.
We recommend pouring Deep Pour Epoxy Resin in up to two-inch thick layers at a time—pouring in one-third increments—using a torch between pours to remove any air bubbles to ensure crystal-clear results. Additional layers should be added before the prior layer cures fully (at the “firm gel” stage) to allow a bond between the layers.
Casting resins cure much more slowly than epoxy resins – with typical cure time in the 36–48-hour range, whereas epoxy resins generally cure in 12–24 hours. However, epoxy resins will begin to gel in about 20 minutes, while casting resins may take up to 18 hours to fully gel. Since casting resins are used for thicker pours, their thinner viscosity enables slower heat dissipation than coating/tabletop epoxy. Notes: Coating epoxies left in a mixing container beyond 5–10 minutes may produce excessive heat. Pouring a coating epoxy too thick could ruin a project as the epoxy could heat up and potentially crack.
All of Promise’s Epoxies are VOC-Free. A VOC (Volatile Organic Chemical) is a solvent that gets released into the air as the epoxy cures. NOTE: It is important to use an epoxy that is free of these solvents as some epoxies contain cheap fillers or diluents, which are included to make the product cheaper, thereby emitting VOC’s into the air or in water.
Pouring layers of Promise Deep Pour Epoxy Resin may be accomplished in one of two ways; either by adding another layer while the prior one is still in its gelatinous pre-cured state, or if the previous layer is fully cured, we recommend sanding a bit before pouring the next layer to give the newly added resin a surface with which to adhere.
During the curing process, the catalyzed resin goes through a series of thermosetting stages from a liquid to a ‘soft gel’ in about 15–20 minutes, a ‘firm gel’ in 20–30 minutes, and finally to a ‘click-hard’ (cured) stage in 1–24 hours.
Unused and unmixed epoxy resins are not waste and may be saved for future projects—tightly sealed in their original containers at room temperature for six months. Reusable tools may be cleaned as outlined above, while disposable tools may be safely disposed of once the resin has fully cured. The fully cured epoxy resin may be disposed of as non-hazardous waste in most municipalities—check your local waste management requirements.
Whether you are bonding, fairing or applying fabrics, the success of the application depends not only on the strength of the epoxy but also on how well the epoxy adheres to the surface to which it is being applied. Three critical steps for surface preparation of any secondary bonding operation.
Surface Preparation: Clean – Dry – Sand
1. Clean – Bonding surfaces must be free of grease, oil, wax, mold release or any contaminants. Use lacquer thinner, acetone or other appropriate solvents to clean surface. Then wipe the surface with paper towels before the solvent dries. Follow all safety precautions when working with solvents.
2. Dry – All bonding surfaces must be as dry as possible for good adhesion. To accelerate drying use a hot air gun, hair dryer or heat lamp. Use fans to move the air if working in confined or enclosed spaces. Watch out for condensation when working outdoors or whenever the temperature of the work environment changes.
3. Sanded – Sand smooth non-porous surfaces with 80-grit aluminum oxide paper will provide a good texture for the epoxy to “key” into. Remember to remove any flaking, chalking, blistering, or old coating before sanding. Remove all dust after sanding.
1) Keep it cool – keep your materials cool and out of the sun, work in the shade whenever possible, and try to work when it’s cooler.
2) Test mix a small amount – you’ll get a good feel for the amount of working time/pot life you have if you test mix a small batch first.
3) Substrate temps matter too – the temperature of the material to which you’re applying epoxy matters too, as it will heat up the polymer.
4) Your temp matters too! Keep yourself as cool as possible and hydrated when working in the summer heat and take breaks as needed.
5) And for those of you addressing boating or other nautical applications using marine grade epoxy resin, use a slow hardener for warm weather as it cures best at 80°F.
Epoxy resin functions best in cooler temperatures of about 75°F (22 °C). So if you can work in a climate-controlled environment, you’ll get better results. Significant increases in temperature of 15°F–20°F (10°C) can easily halve the working and application times of the polymer. Another quick tip when working in sunlight, be sure to mix your resin in plastic containers and not metal. Plastic will help keep the materials cooler.
If your product has a cloudy finish, you can use a multi-purpose clear gloss finish/sealer. Start by placing your project in a cardboard box in a well-ventilated area. The working conditions should be less than 75% humidity.
Alternatively, you can do a seal/flood pour on top and brush it on with a grey foam brush. Make sure to let it dry for at least 24 hours. This will add a clear glass-like finish.
Cold temperatures can affect epoxy resin in several different ways:
Curing time: More frigid temperatures slow down the curing time for the epoxy resin. This may be beneficial if you are looking for a longer working time, but it also means that your project will take an extended amount of time to complete.
Product viscosity: In cooler temperatures, epoxy does not flow as smoothly. You may notice that the product seems much thicker than usual to pour and mix. If your product or surface is too cold, a self-leveling epoxy may not level properly and leave you with imperfections like fisheyes.
Humidity Problems: When you’re working in colder temperatures, increased humidity in the atmosphere may also affect your project. You may get moisture settling on the uncured epoxy which can lead to blushing, surface defects, or reduced shine/gloss.
Don’t worry if your epoxy has traveled through cold areas to get to you. Be sure to acclimate your epoxy back to the proper temperature (75°F) before use.
Once the entire surface is sealed, wait 4–6 hours to pour the flood coat. Do not exceed 10 hours or you run the risk of the flood coat not blending into the seal coat flawlessly.
You can add multiple flood pours. Each flood coat self-levels at approximately 1/8” thick. If depths thicker than 1/8” are desired multiple coats are necessary. You must wait at least 4–10 hours between flood coats. The epoxy will still be tacky so the next pour will stick to it.
If you wait more than 10 hours, you must scuff up the surface lightly with 222–300 grit sandpaper then wipe it clean with denatured alcohol or acetone before applying another coat. Just minor scuffing of the surface is all that you need to do so the next flood coat has some grip to stick to.
The best way to apply the flood coat is to start on one end and pour the resin the entire length of the surface, zigzagging as you go. After you are finished pouring, set the container down. Do NOT try to scrape anything else out of the bucket. Because you are pouring about three times the amount of product you did with the seal coat, the material will immediately start to flow out. However, you will still want to use a rubber squeegee or foam brush to help guide the material around. The less you use the brush, the better.
As long as the product is still mixable (i.e. not cured), it is still viable for use. The mixing process should thin out the discoloration, making viable epoxy resin for your use. Please also keep in mind that when mixed with pigments tints or dyes no yellowing will be noticed. All epoxies with time do yellow. However, when used it will cure just as it did the first time you used it.
First let’s take note as to why this happened.
Reason -1- under-mixed – Mixing is a crucial part of the project. Mixing of the product should be done by hand with a clean stir stick. The more product you are mixing, the longer it will take to achieve a complete mixture. One gallon of the mixture takes approx. 4–5 minutes of mixing. Two gallons of mixture take approx. 6–7 minutes of mixing. Timing this with a watch is a good idea. While mixing make sure to scrape the sides and the bottom of the container to avoid under-cured epoxy. Be sure to push thoroughly down with the stir stick or, you can end up with areas that are hard/dry with other areas that are sticky or tacky that will not harden.
Reason -2- inaccurately measured – If you have measured and mixed your resin correctly, this problem will not occur. You must follow the strict 1-to-1 ratio by volume. Do not guess or eyeball these measurements. Just dumping the product from their original containers is not a proper measurement. It must be measured with reasonably precise accuracy using a graduated tub.
Don’t worry – you can fix this!
Epoxy that remains sticky after the curing time will stay sticky unless the following measures are taken to repair the situation.
1. Scrape off the wet epoxy
You will have to start by scraping off all of the wet epoxy.
Don’t worry – your project or art underneath will not be disturbed. Be sure all the liquid epoxy is removed before you pour your coat of fresh Epoxy on top. If you do not scrape off the wet epoxy, this could result in leaking under the new Epoxy coat. Wipe with denatured alcohol.
2. Sand your project (finish it off with 222–230 fine sand grit paper)
You’ll want to sand the entire piece, next. Be sure to include the cured patch, if you needed to patch any holes or gaps. After sanding, wipe off any dust from the entire surface. (wipe it off with denatured alcohol or acetone)
The object is to create a layer that the new epoxy can adhere properly to.
Don’t be worried if it looks like a mess at this point—when you pour the second coat, it will look as good as new!
3. Pour The Second Coat (pour 1/8″new flood coat)
Be sure that your first coat is 100% cured and go ahead and pour your second layer.
We recommend using our epoxy within 6 months of purchase.
Store your epoxy resin and hardener at room temperature and keep it closed and in its original container to prevent contamination. With proper storage, resin and hardeners should remain usable for up to 6 months after opening. After lengthy storage, mix a small test batch to assure proper curing, before using.
Hardeners may darken with time, but physical properties are not affected by color. If clear finishing, be aware of a possible color change if very old and new hardeners are used on the same project.
To request a SDS, please email us at jeff@eyecandycustomz.com


