Free Shipping on pigment orders over $89 (Domestic). NO FREE SHIPPING ON MOLDS
We ship pigments worldwide! Overnight is not available on weekends. Place Next Day Shipments before 3pm Est!




-
-
Pigments by Color
-
Specialty Pigments
-
Flakes - Glitters
-
Accessories
-
Apparel / Mugs
-
Gift Cards
-
Pigment Pastes by Color
-
Pigment Pastes Sets
-
-
-
Pigments & More
-
Pigments by Color
-
Specialty Pigments
-
Flakes - Glitters
-
Accessories
-
Apparel / Mugs
-
Gift Cards
Pigment Pastes-
Pigment Pastes by Color
-
Pigment Pastes Sets
Eye Candy Epoxy ResinPromise Epoxy ResinSample SetsBuild Your Own BundlesNEWSilicone MoldsCatalog / Banner / PosterInformationalAffiliate ProgramSubscriptions -
Check out our new arrivals!
FREE SHIPPING ON ALL EPOXY!
Eye Candy Pigments
Samurai Black
(31)
$15.99
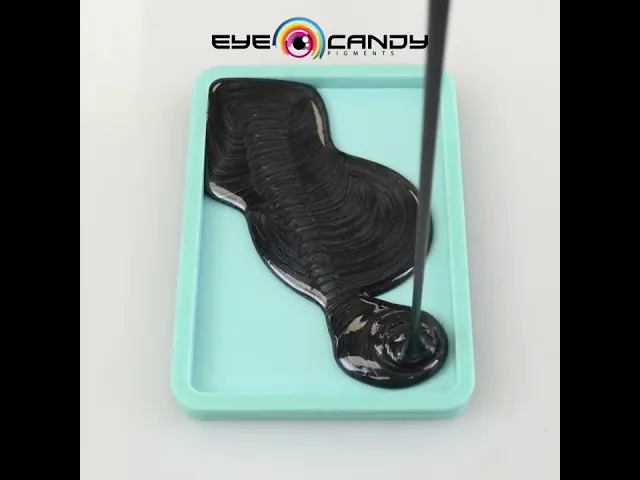
Experience the depth of Samurai Black, a black pigment infused with subtle silver nuances.
Elevate your crafts with this luxurious shade, from bold jewelry to captivating art. Ideal for epoxy resin, acrylic painting, and jewelry crafting. Also perfect for slime, bath bombs, melt & pour, plastics, and candle making.
Dive into a world of creativity with Samurai Black.
Samurai Black
(31)
$15.99
In stock - Ready to be shipped
Estimated delivery between October 21 and October 23. Order within .
Pay with
Your transaction is protected with advanced security measures to keep your information confidential

Experience the depth of Samurai Black, a black pigment infused with subtle silver nuances.
Elevate your crafts with this luxurious shade, from bold jewelry to captivating art. Ideal for epoxy resin, acrylic painting, and jewelry crafting. Also perfect for slime, bath bombs, melt & pour, plastics, and candle making.
Dive into a world of creativity with Samurai Black.
Particle size : 10-60 μm
Ingredients : Mica, Titanium Dioxide, Iron Oxide
Heat Threshold : 392 °F - 572 °F
Product Type : Mica
Vegan : Yes
Soaps : Yes
Epoxy Resin : Yes
Acrylic : Yes
FDA-Permitted for External Use : Yes
FDA-Permitted for Eye Area Use : Yes
FDA-Permitted for General (Including Lips) Use : Yes
FDA-Permitted for Bath Bombs Use : Yes
Epoxy : 2 grams per 8 ounces
The most common question that we receive is “How much pigment per gallon of epoxy?” This is a very valid question and unfortunately there is no set answer due to the numerous types of applications and variations. This is why we recommend 2 grams per 8 oz and add as desired.
For example: Are you looking for an opaque or transparent look? Lighter colors may take more pigment to achieve the color.
Why micron sizes matter:
PLEASE be aware of the micron sizes of the pigment. The larger the micron, the larger the particle.
Typical pigments average 10-60um.
Be aware that larger micron sized pigments will most likely have a heavier density which will cause the pigment to sink faster in fresh epoxy such as deep pours. For example, our Icicle or 14k Nugget Gold is 200-700um and will most likely sink in fresh epoxy faster. To alleviate sinking either let the epoxy settle up a little bit. Or, come back through your project to “stir” it a little more.
Cold process - 2 tsp per lb of oils
Hot process - ½ tsp lb of MP base
Peelable Automotive Coatings (Plasti Dip, HaloEFX, P1Coatings, Pro Line, Autoflex, Etc.) - 50 Grams Per Gallon
Standard Automotive Clears - 25 Grams Per Gallon
Appliance Paint And Coatings - 25 Grams Per Gallon
Architectural Coatings (Interior And Exterior) - 10-20% By Weight
Wall Paper And Other Architectural Paper Coatings - 1-5% By Weight
Peelable Coatings:
◦ The majority of our pigments can be sprayed through a 1.2 tip
◦ Be aware of the micron size. The larger the particle you may have to go to a larger tip.
◦ The pigments can be mixed with the base color or mixed into the clear and sprayed over the base color.
◦ The base color may impact the overall color of the pigment.
◦ Light colored pigments yellows, pinks, etc., we recommend using a white base or a like colored base.
◦ Dark colored pigments, we recommend using a black or dark colored base
Automotive Paint:
◦ The majority of our pigments can and have been used for automotive.
◦ The majority of our pigments can be sprayed through a 1.2 tip
◦ Three ways to use our pigments for spraying:
◦ Mix directly into the base color to create a unique blend
◦ Mix and spray with your mid clear over the base color
◦ Mix and spray with your top coat. Typically we do not recommend this due to the possibilities of striping. Also, we use the top coat as a UV
protector or possible sanding of the top coat, etc.
Courtesy from our friend Justin Salley.
For more tutorials, visit his Youtube page www.youtube.com/@justinsalleyart/
STEP #1 - MIX YOUR POURING MEDIUM
3 parts Behr8300 Deep Base Interior/Exterior Hi-Gloss Enamel. 1 part JOSONJA Polyurethane Water Based Gloss Varnish. Mix gently folding paint and varnish together until they are completely mixed, Go Slow to reduce mixing bubbles.
STEP #2 - DISPERSING PIGMENTS INTO YOUR MEDIUM
Pour 1/2 to 1 teaspoon of JOSONJA Gloss Varnish into mixing container. Add around a teaspoon of Pigment (I generally add a little more) into your container with the JOSONJA. Mix until all Pigments have dissolved into a liquid making sure to stir any clumps out at this time.
STEP #3 - COMBINING YOUR POURING MEDIUM & DISPERSED PIGMENTS
Add around 3 Tablespoons of Pouring medium into your Dispersed Pigments. Mix thoroughly, being slow and folding rather than whipping, this will minimize the air bubbles.
STEP #4 - WHAT IF?
◦ If your new mixed color seems to thick - Add a small amount of JOSONJA and stir until you reach the desired consistency.
◦ If your new mixed color seems to thin - Add a small amount of Behr8300 (ONLY) and stir until you reach the desired consistency.
Vinyl Wrap And Plastic Films - 5-10% By Weight
Plastic Bottles - 1-2% By Weight
Masterbatch - 10-30% By Weight
Plastic Resins - 0.2-0.5% By Weight
Rubber Polymers And Latex - 5-15% By Weight
Glass - 1-10% By Weight
Candles - 5-10% By Weight
Flexographic Inks (Packing Materials) - 15-25% By Weight
Offset Printing Ink - 5-10% By Weight
Screen Printing And Screen Inks - 10-30% By Weight
Textile Printing And Textile Inks And Pastes - 5-10% By Weight
Gravure Inks - 5-15% By Weight
Lotions - 1-5% By Weight
Lipstick And Pigmented Lipgloss - 5-10% By Weight
Eyeshadow - 15-80% By Weight
Nail Polish - 5-25% By Weight
Shampoo - 0.1-2% By Weight
Our pigments can be used for both Cerakote and KG Gunkote clears. Below are just some references.
◦ 5 grams of pigment per 4oz
◦ Typically recommend a black base. For light colored pigments such as
yellows, pinks, etc. you may want to try a light colored base. ALWAYS test before full application.
◦ 3 coats for full saturation. Some colors may require less.
◦ Stay with pigments with a 10-60um micron size. All particle sizes are listed
on our product pages or you can find them on our Pigment Information List.
◦ Recommend using a .80 spray nozzle. Some use 1.0 for clears.
Light/Translucent Colors: 0.25%–1% pigment per total plastisol weight
Standard Mix: 1%–3% pigment per total plastisol weight
Rich, Opaque Colors: Up to 5%, but too much pigment may affect flow & curing
How This Translates to Grams:
Plastisol Amount | 1% Pigment | 2% Pigment | 3% Pigment | 5% Pigment
100g plastisol | 1g pigment | 2g pigment | 3g pigment | 5g pigment
250g plastisol | 2.5g pigment | 5g pigment | 7.5g pigment | 12.5g pigment
500g plastisol | 5g pigment | 10g pigment | 15g pigment | 25g pigment
1kg (1000g) plastisol | 10g pigment | 20g pigment | 30g pigment | 50g pigment
Which Pigment Size Should You Choose?
5g Pigment – Best for small batch testing (up to ~500g plastisol at 1-2%)
25g Pigment – Great for mid-size projects (~500g-2.5kg plastisol)
50g Pigment – Ideal for larger production runs (~1kg-5kg plastisol)
We recommend starting with a lower percentage (1-2%) and gradually adjusting based on the intensity you're looking for. Metallic and interference pigments may require extra mixing for even dispersion.
Materials Needed:
Mica Pigments: Choose the colors you want to use.
Lacquer Thinner: A solvent that helps to dissolve the pigments and facilitate the dyeing process.
Mixing Container: Use a glass or metal container that is resistant to solvents.
Stirring Stick: A metal or plastic stick to mix the pigments with the lacquer thinner.
Protective Gear: Gloves, goggles, and a mask to protect yourself from fumes and spills.
Brush or Cloth: For applying the mixture to the wood.
Sealer: To protect the dyed wood once it’s dry.
Preparation:
Ensure you are working in a well-ventilated area or outdoors.
Wear protective gear to avoid inhaling fumes or contact with skin.
Mixing:
Pour a small amount of lacquer thinner into your mixing container.
Gradually add mica pigments to the lacquer thinner. Start with a small amount and add more as needed to achieve the desired color intensity.
Stir the mixture thoroughly until the pigments are fully dissolved and evenly dispersed. This may take a few minutes to ensure there are no clumps.
Testing:
Before applying to your final piece, test the mixture on a scrap piece of wood. This allows you to see the color and make any necessary adjustments.
If the color is too light, add more pigment. If it’s too dark, dilute with additional lacquer thinner.
Application:
Apply the mixture to the wood using a brush or cloth. Work in long, even strokes to ensure consistent coverage.
Allow the first coat to dry completely before applying additional coats if needed. This usually takes about 15-30 minutes, but check the product instructions for specific drying times.
Finishing:
Once the desired color is achieved and the wood is fully dry, apply a sealer to protect the finish. This can be a clear lacquer, polyurethane, or another wood sealer compatible with your project.
Ventilation: Always work in a well-ventilated area to avoid inhaling fumes.
Small Batches: Mix pigments in small batches to avoid waste and ensure freshness.
Consistent Mixing: Keep the mixture well-stirred during application to maintain consistent color.
Safety: Follow all safety instructions for handling lacquer thinner and pigments. Dispose of any rags or brushes used safely, as they can be flammable.
Recently viewed products
Featured Products


- 5 stars: 27 (87%)
- 4 stars: 4 (13%)
- 3 stars: 0 (0%)
- 2 stars: 0 (0%)
- 1 star: 0 (0%)
Great Color amazing results

My company manufactures and supplies epoxy and related products. I have tried various metaliccpigments, from a variety of suppliers. Eye Candy’s pigments have the best brilliance and shimmer st a reasonable price. They are my staple supplier for these pigments from now in!
Beautiful pigment even for black.
This is perfect for my projector paint I made.
Amazing color
Nice
I worked perfectly to color the epoxy I was using!
I used this product as a tint for my epoxy to refinish my table. The color is beautiful.
More of a graphite, less pure metallic black. Powder works great though
awesome product dark and blends in table top clear coat well good product will order again
Minimal but important color of our epoxy resin surface - Add depth!
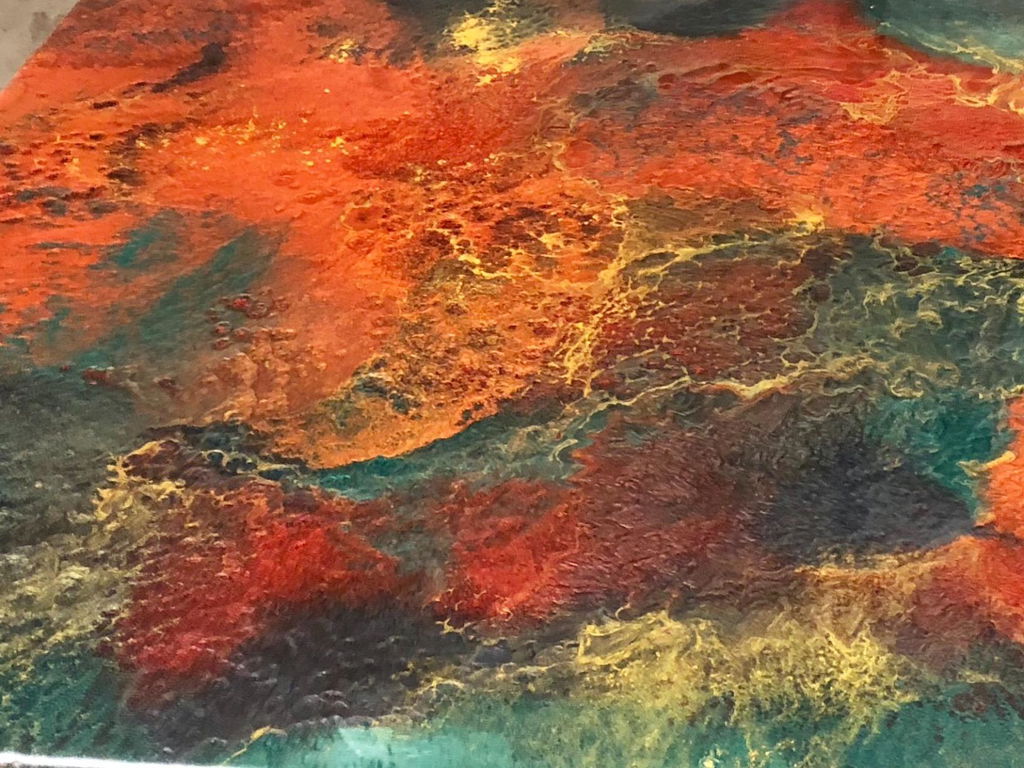
Awesome product
Awesome product for a great price. Did some kitchen countertops in epoxy and used this as one of the colors. Turned out amazing.
Tint acrylic
Great product! mixed up well and laid down very nice in clear coat.
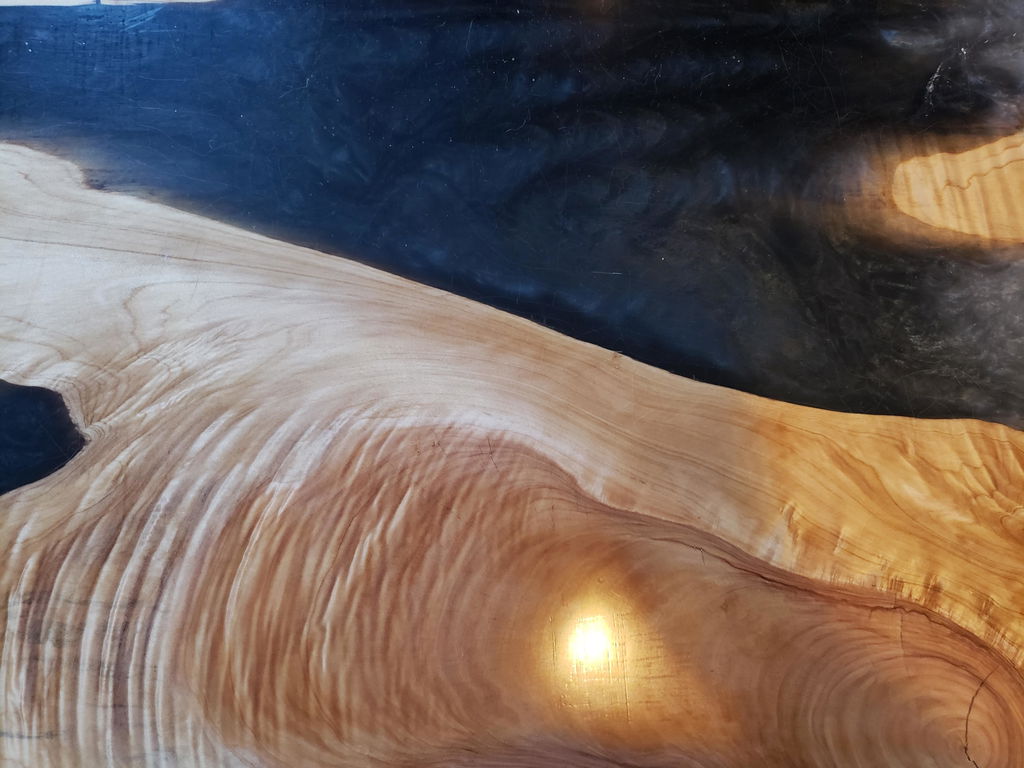
I used this pigment in a table I made. First I reserved the wrong pigment but I was happier with the other pigment. second it turned out beautifully!! this brand was ready to mix with resin and it worked in well. I love it!
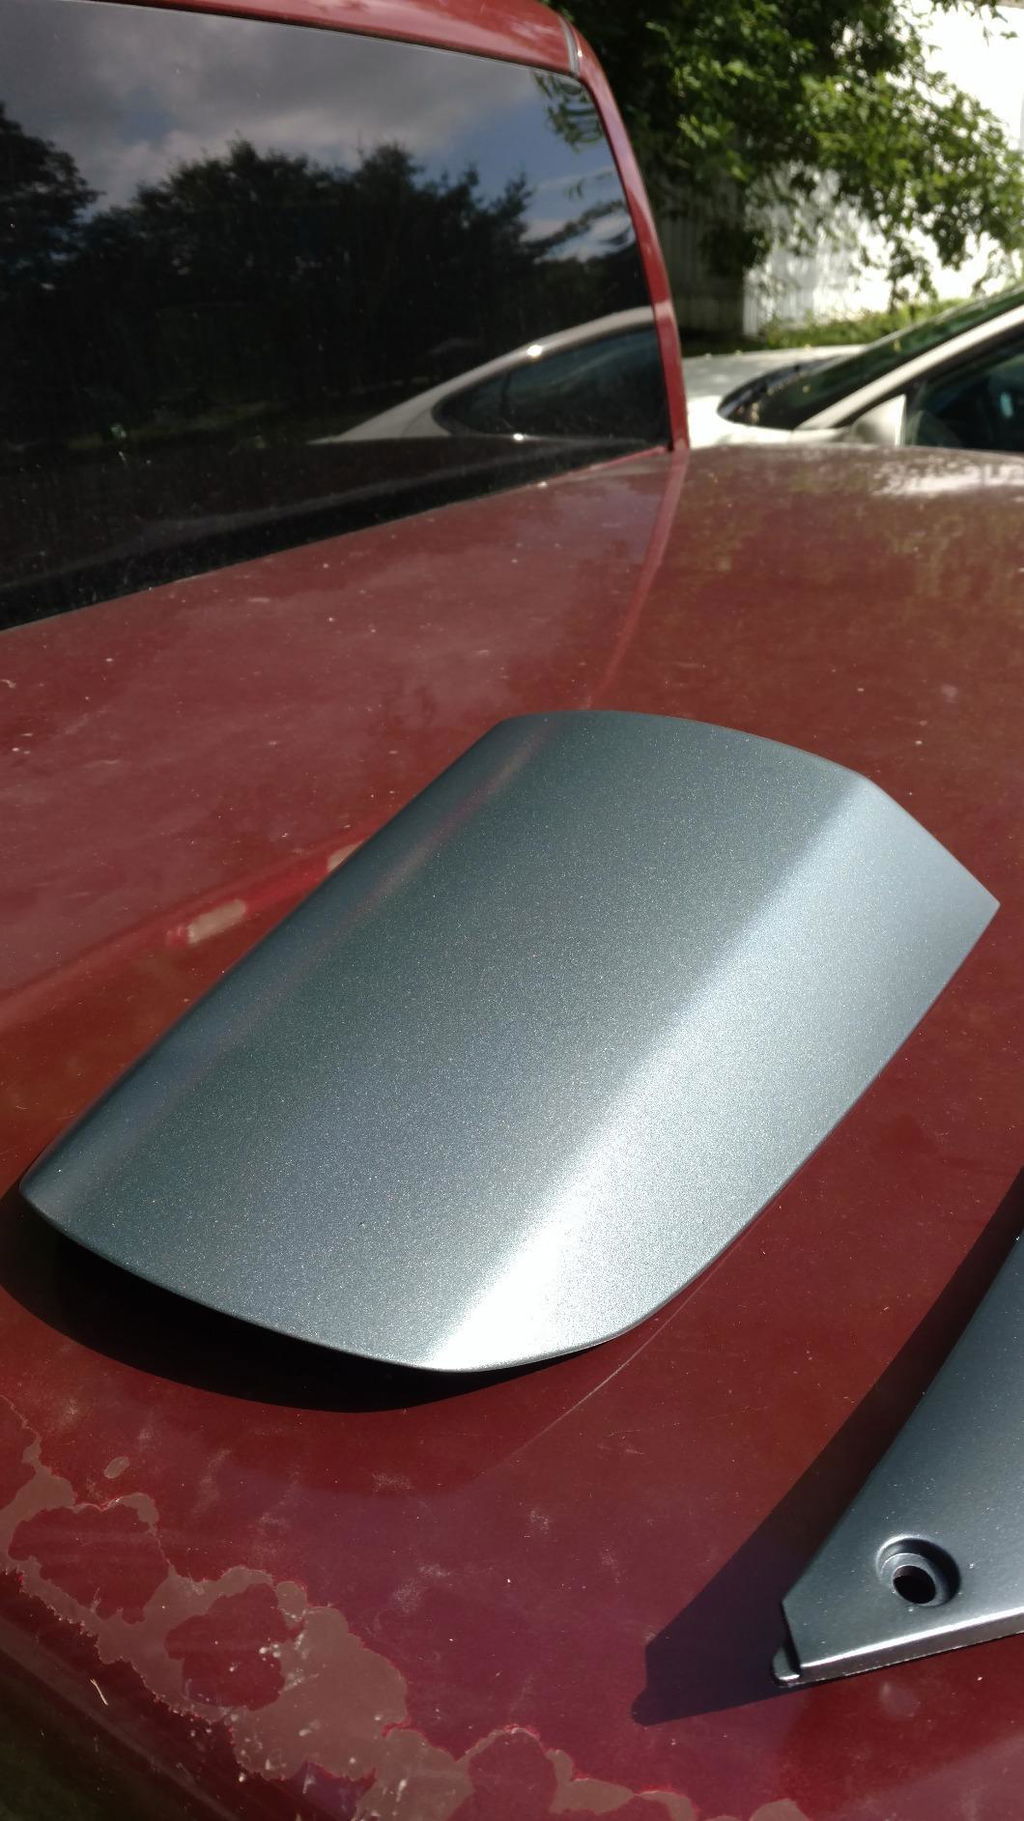
I wouldn't even call it a pewter, it's lighter than that. If your looking for what's in the picture you likely need to go down 2 shades.
Nice
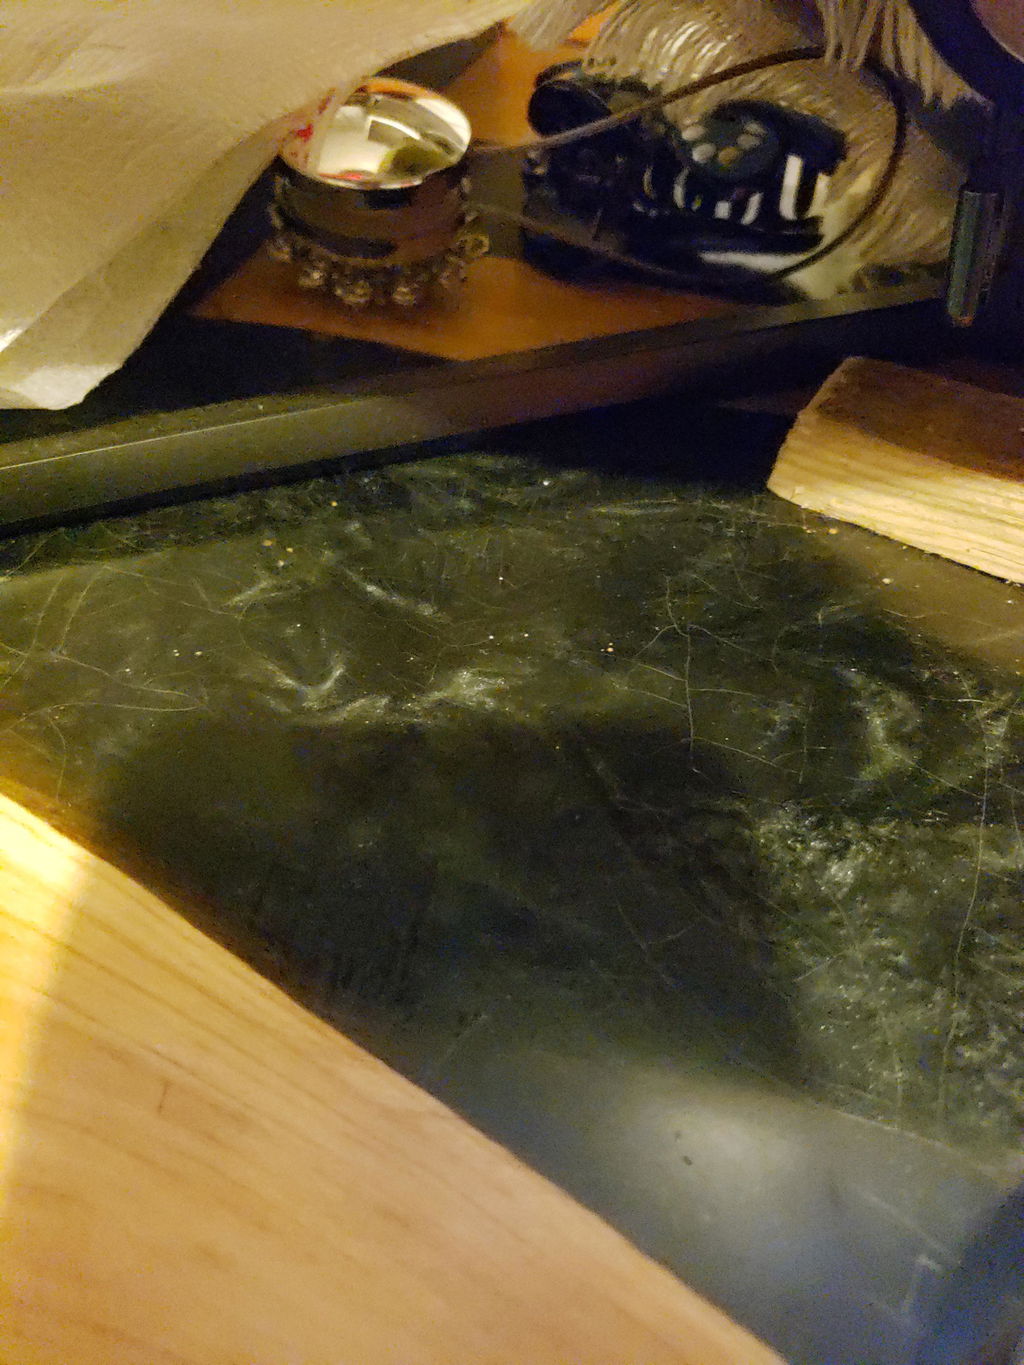
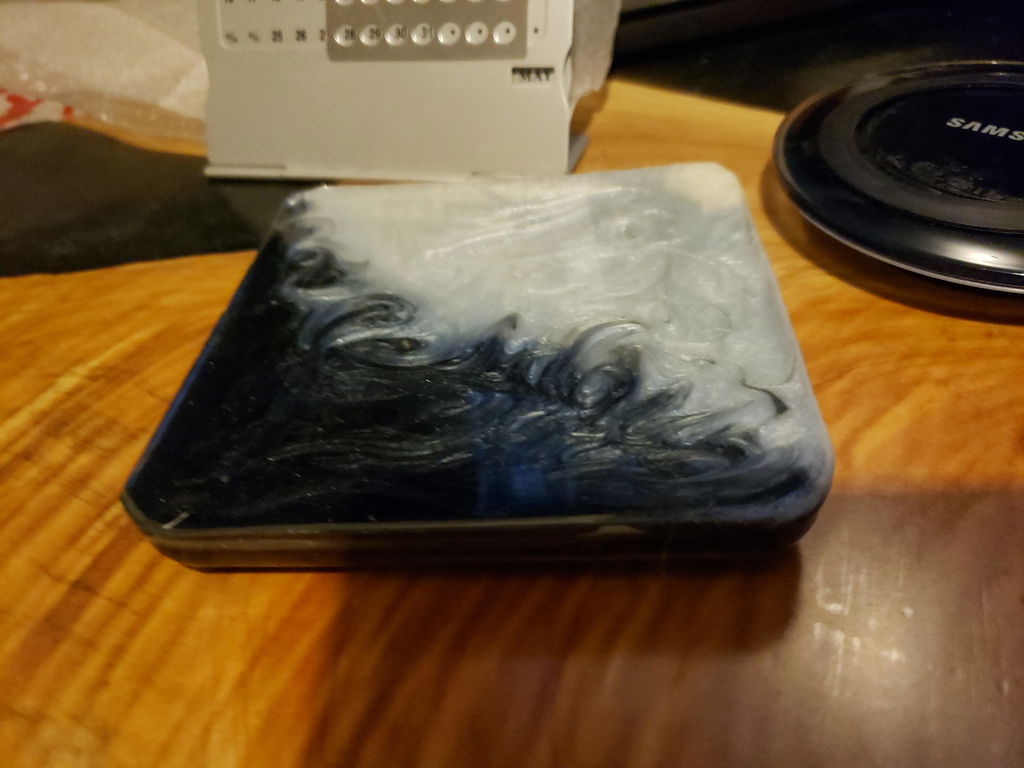
I have been making soap for a while and needed a new way to make my oatmeal soap dark black. This pigment is beautiful, however, it does not make the color I would like unless I use a ton of it. On the other side It does make the soap look beautiful in the sun, it has almost a glittery effect to it. So my guess is that the pigment is not strong enough to make the white soap black, your best bet would be to use clear soap and turn it black using this pigment. Great stuff to work with though!
Rich black, not flat black, that has a slight "rainbow" glitter to it. Perfect for a moonlit black (wish it was called this) due to the micro-flecks in it. Mixes nicely with acrylic & cosmetic carriers (be sure to microwave for the latter use to kill microbes)
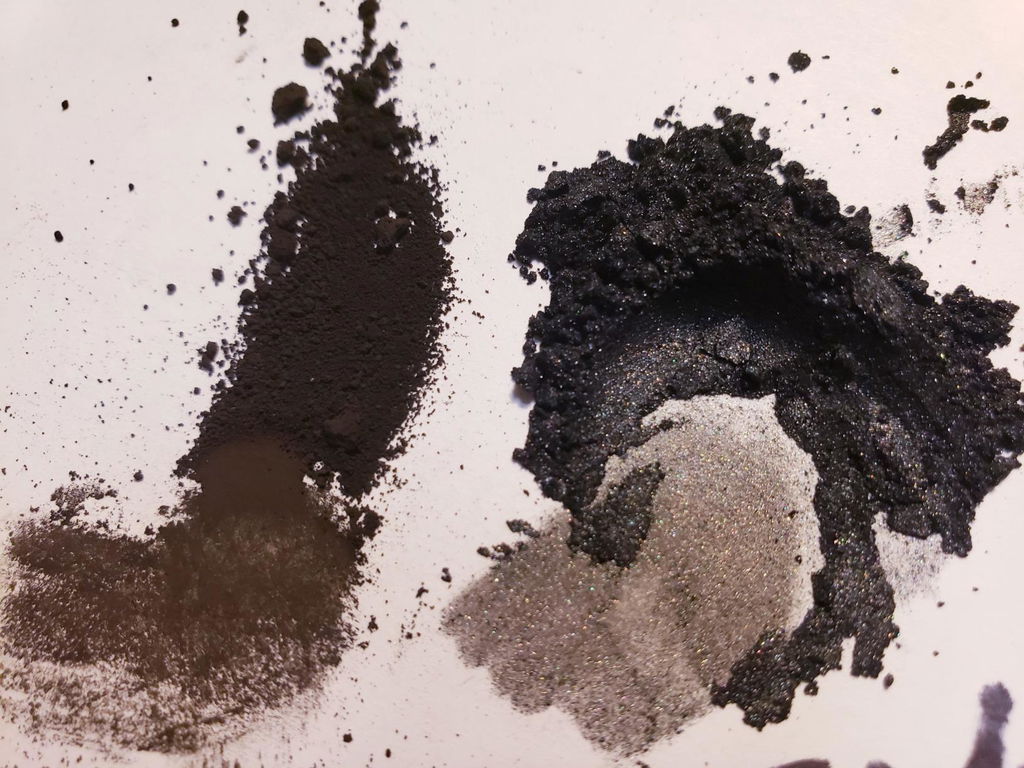
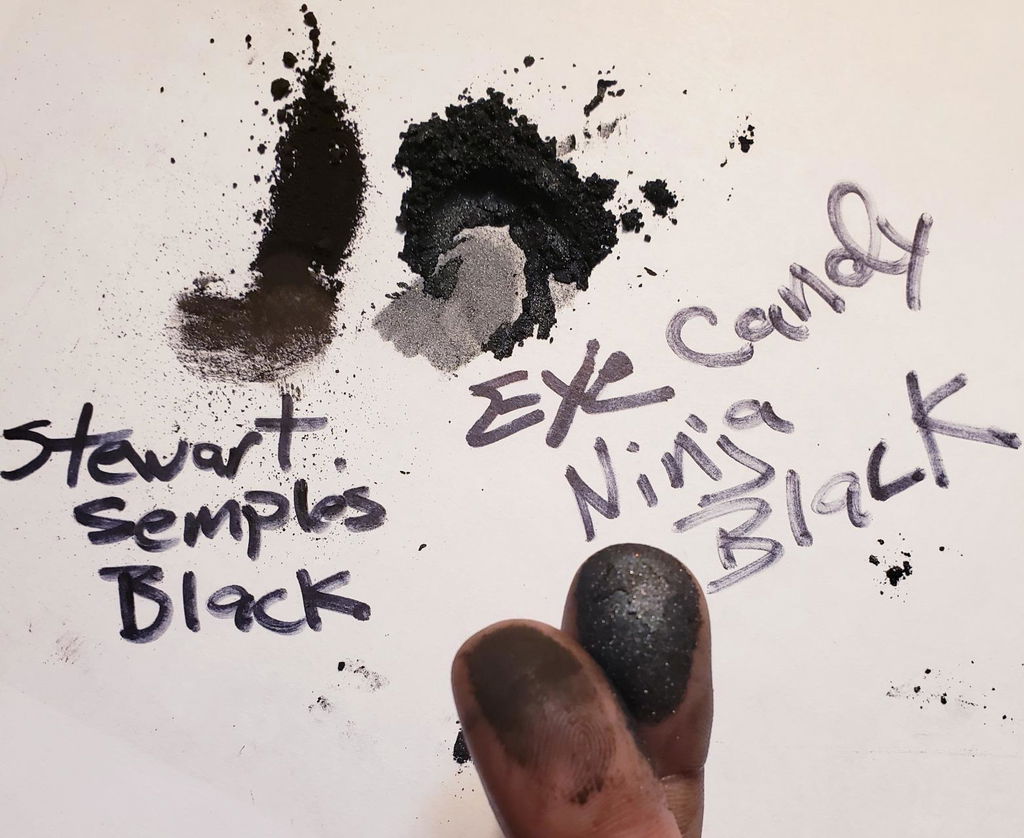
The metallic black finished very well it was like a high end car paint finish. Highly recommend
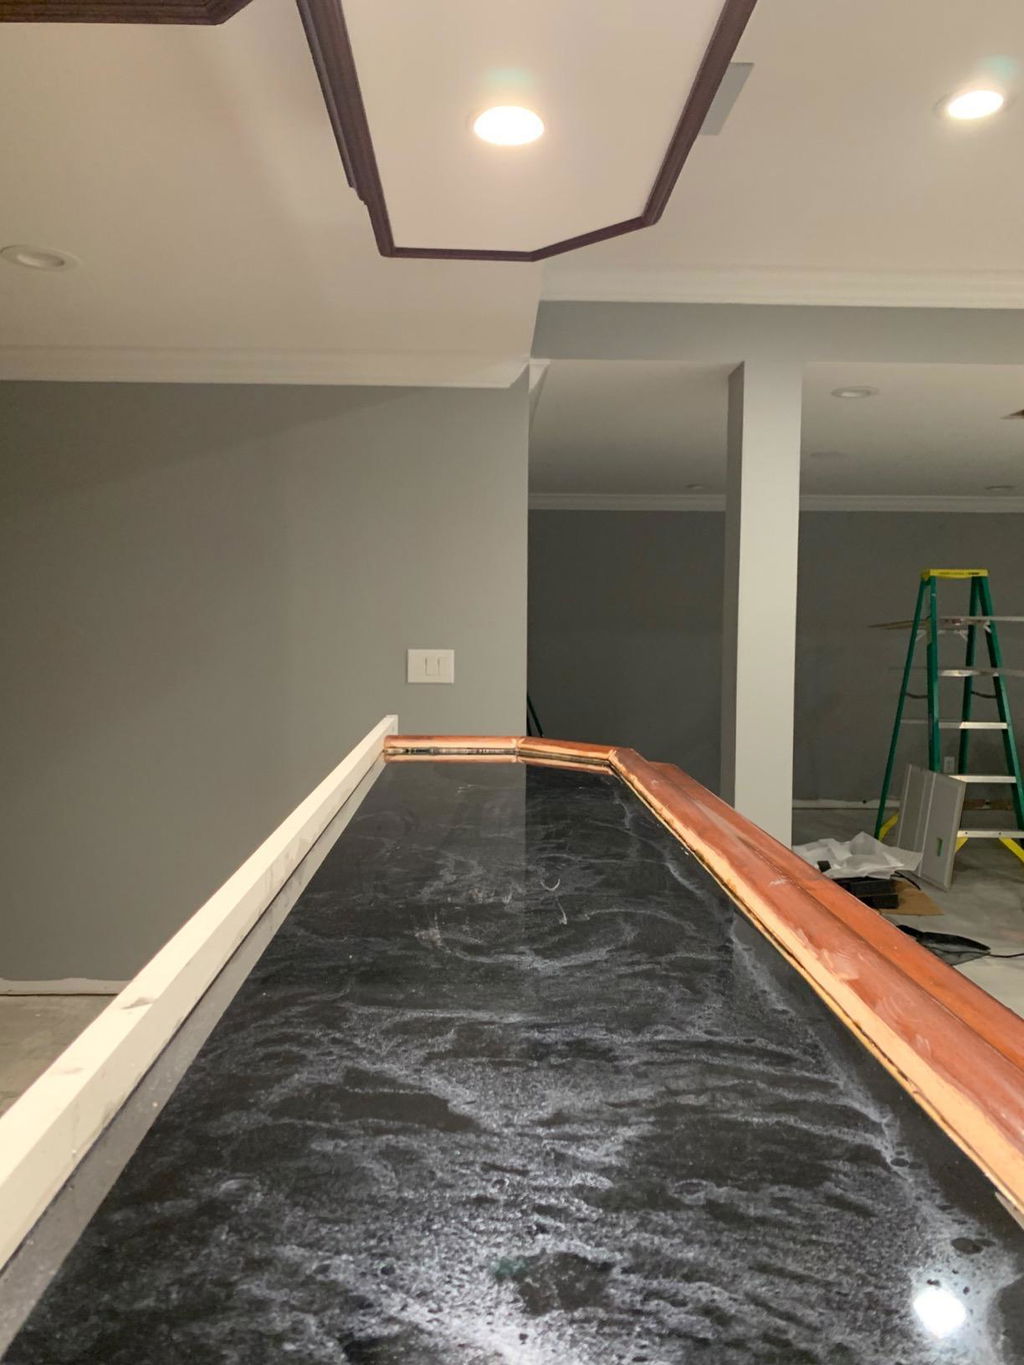
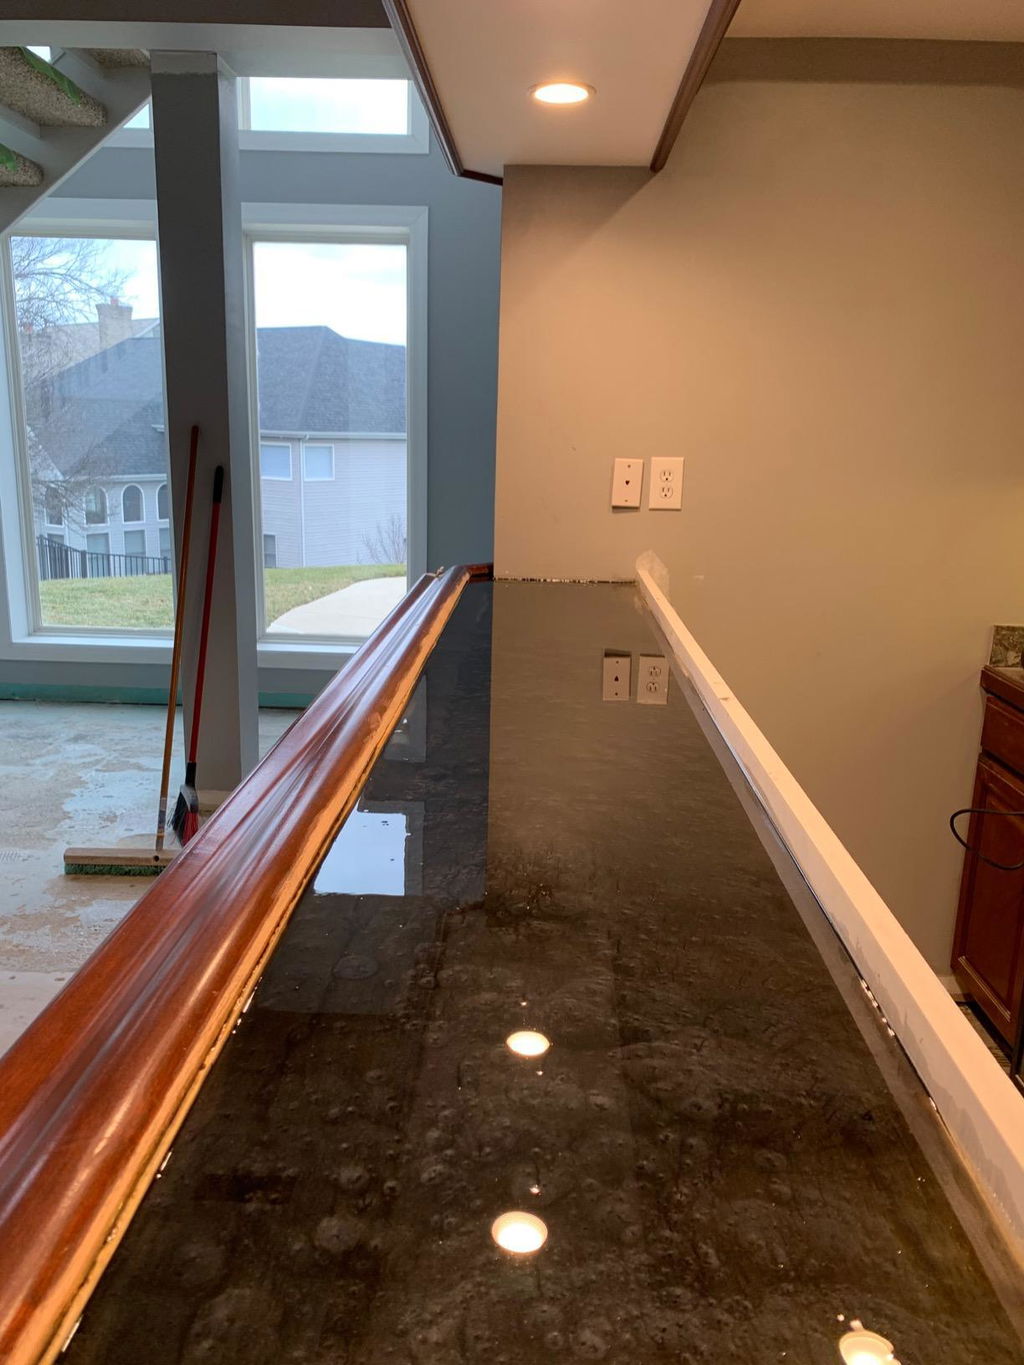
Love this mica powder. It’s nice a dark and has a pearlescent finish. It’s really pretty!I like that the 50 gram comes in a container - it makes it easier to store for me- wish the 25 gram did too.
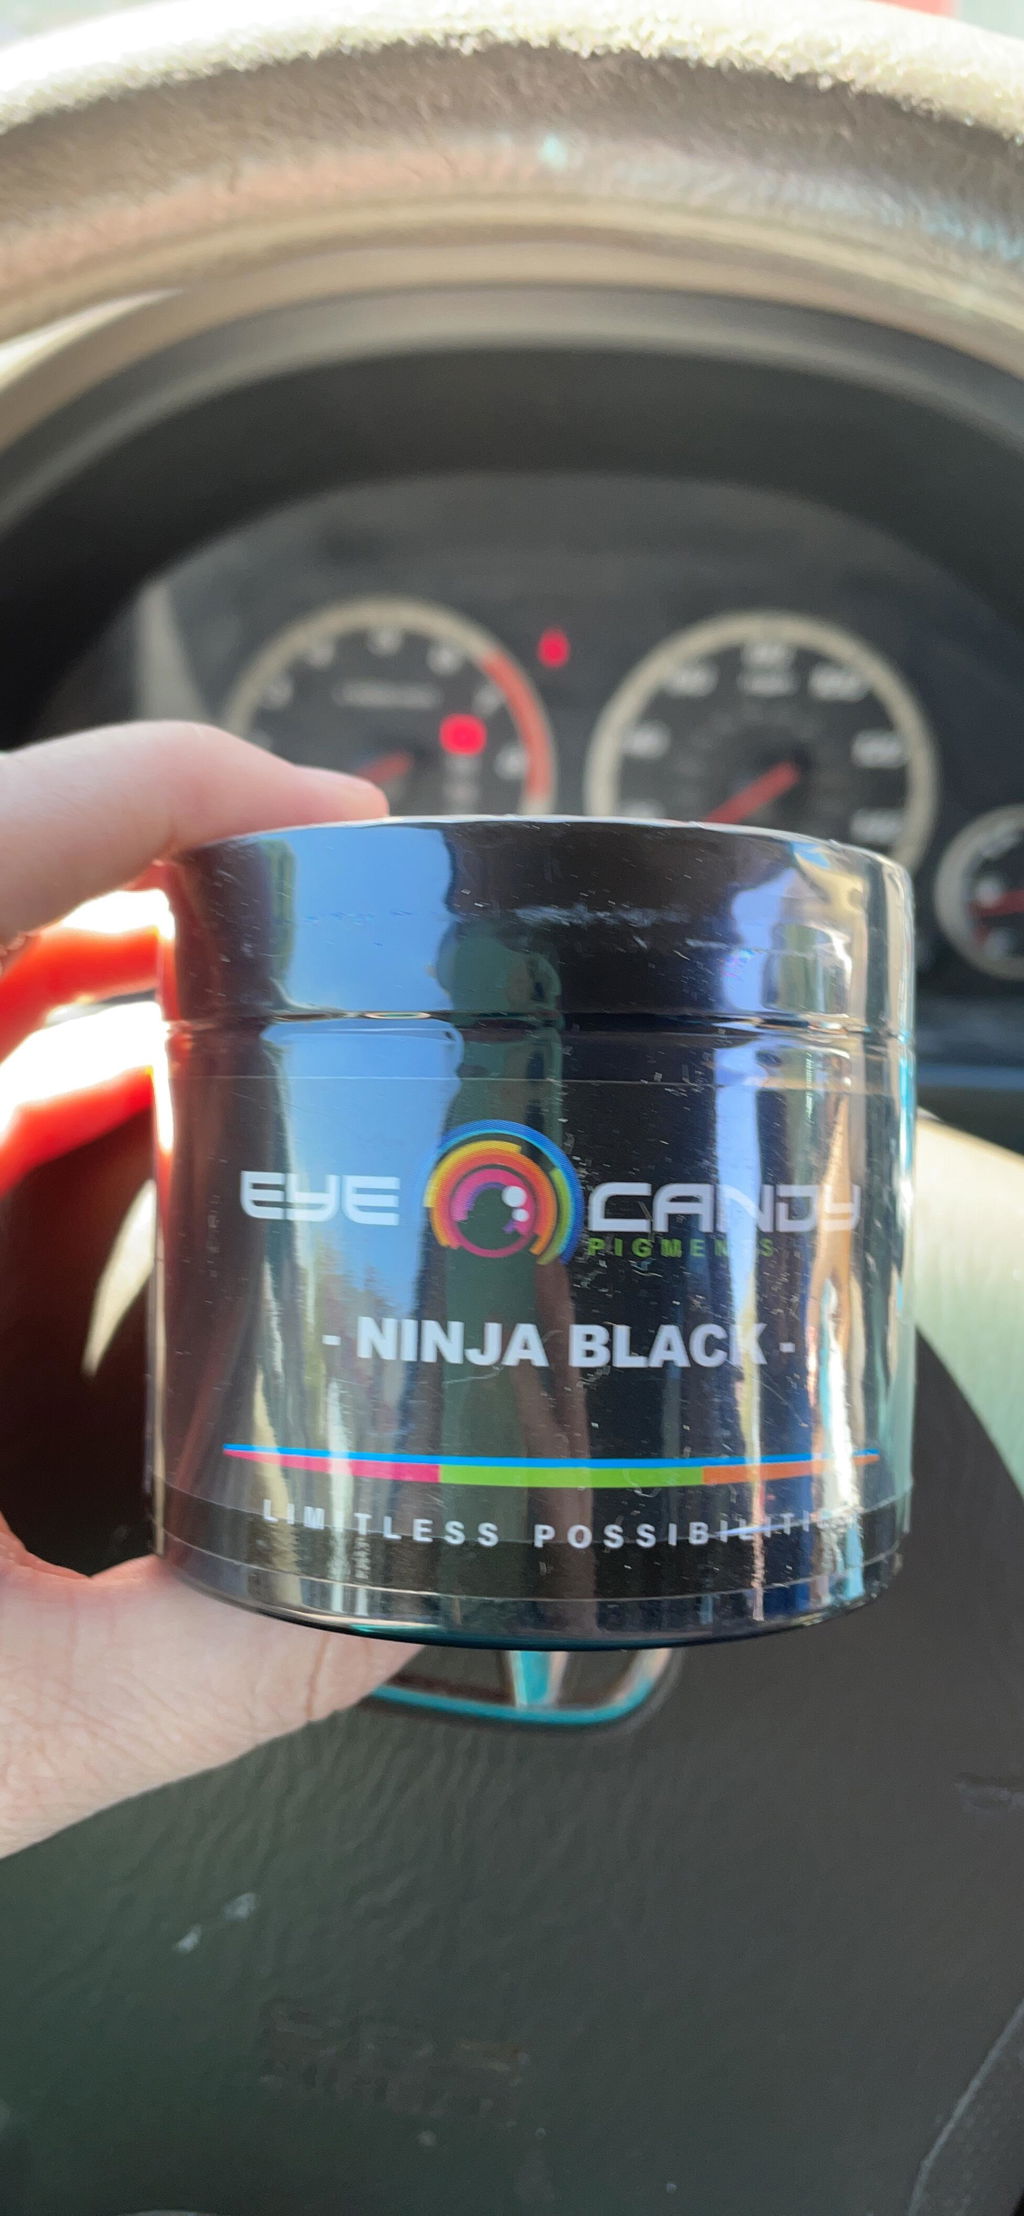
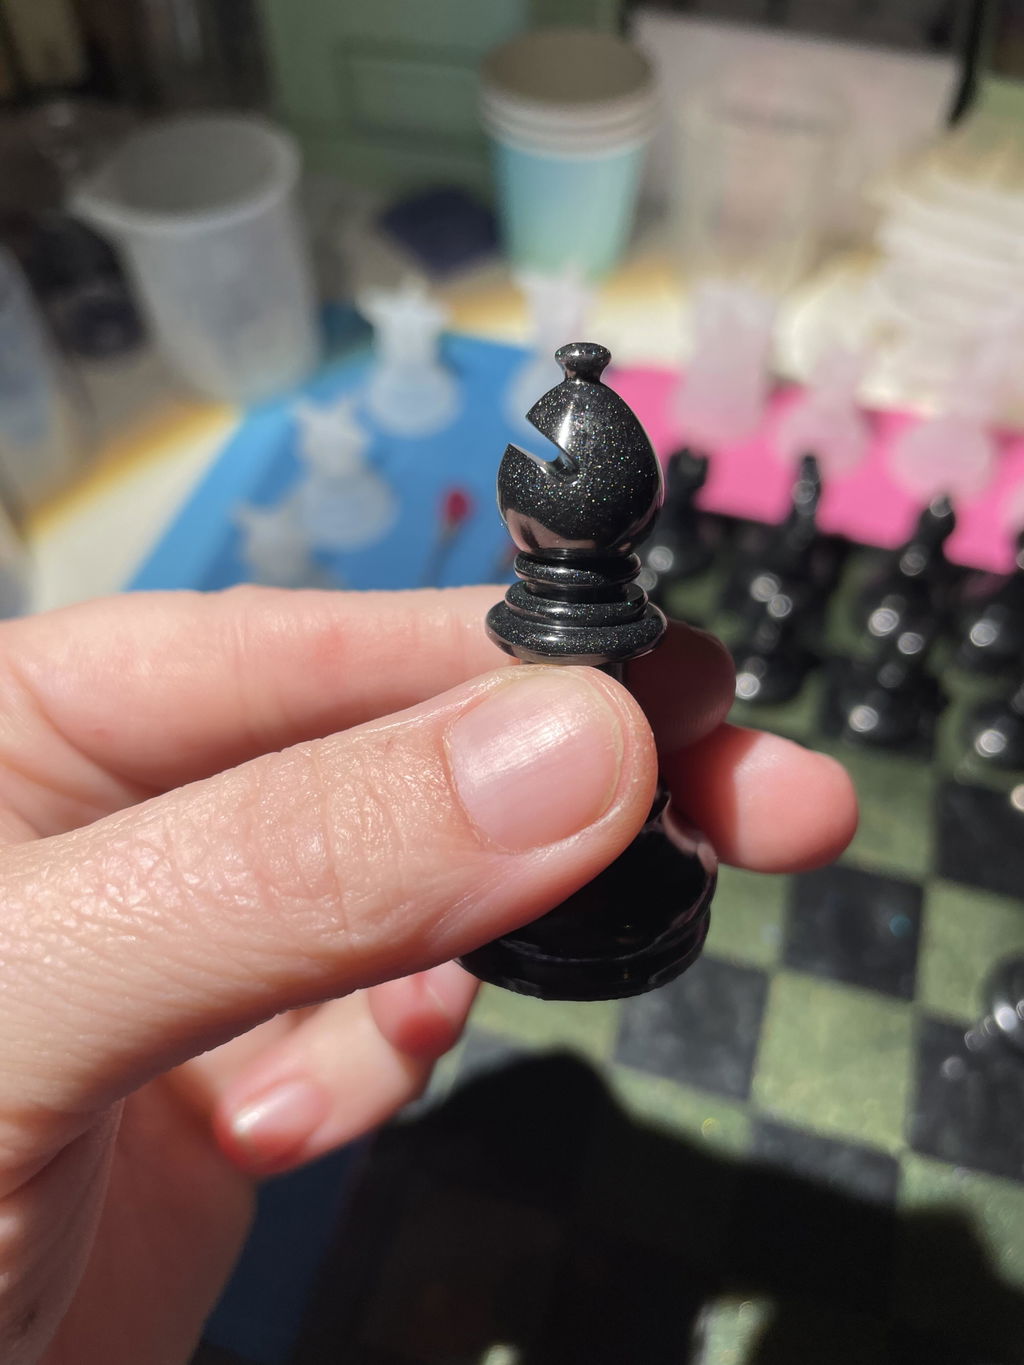
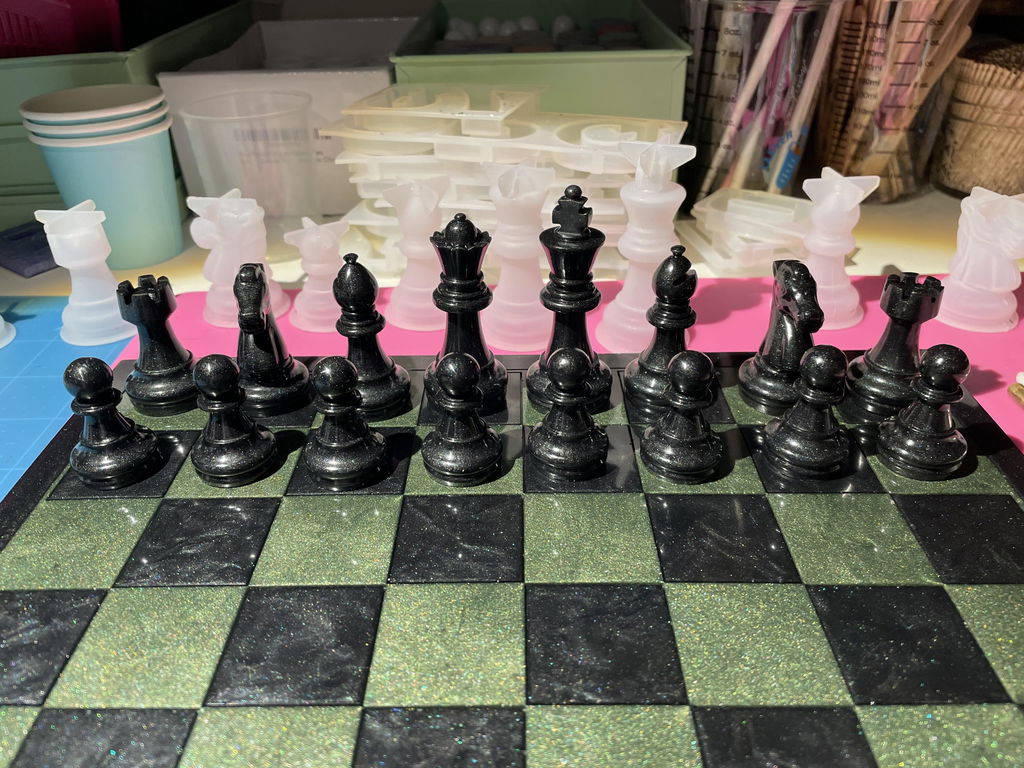
I'm still new to epoxy resin and so wasn't sure how my project (covering a table top for a friend) was going to go. It went great though, this mixed easily with my resin and another color I was using. My friend was thrilled with the final results and color. I didn't have to use much to get the results so I still have some for future projects too
Eye candy has done it again. Another amazing mica product. I love this black. Can’t wait to use it.
Bought this shade for the name alone, now it is one of my favorite shades of black to use!
The Eye Candy colors offered are so varied and different than those available from the other pigment suppliers that I have used in the past. I placed an order for a 20 pack of various colors to get me started, and I am anxious to pick a color or two to use on my next epoxy casting project.
I am a Woodturner, and for the past 3 years I have been incorporating resin into my projects. I can now use wood that would not be useable without the resin, and by adding the beauty of micas and pearls, the projects turn out wonderfully.
Good purchase
This one is my personal favorite of the black pigments. Great for shadowing and contrasting resin inlays.
I am building my color catalog and I am enjoying the variations in the different blacks. I am very pleased and I highly recommend
Information
Popular Items
Need help?