Magical Christmas Ornaments To Create for Family and Friends
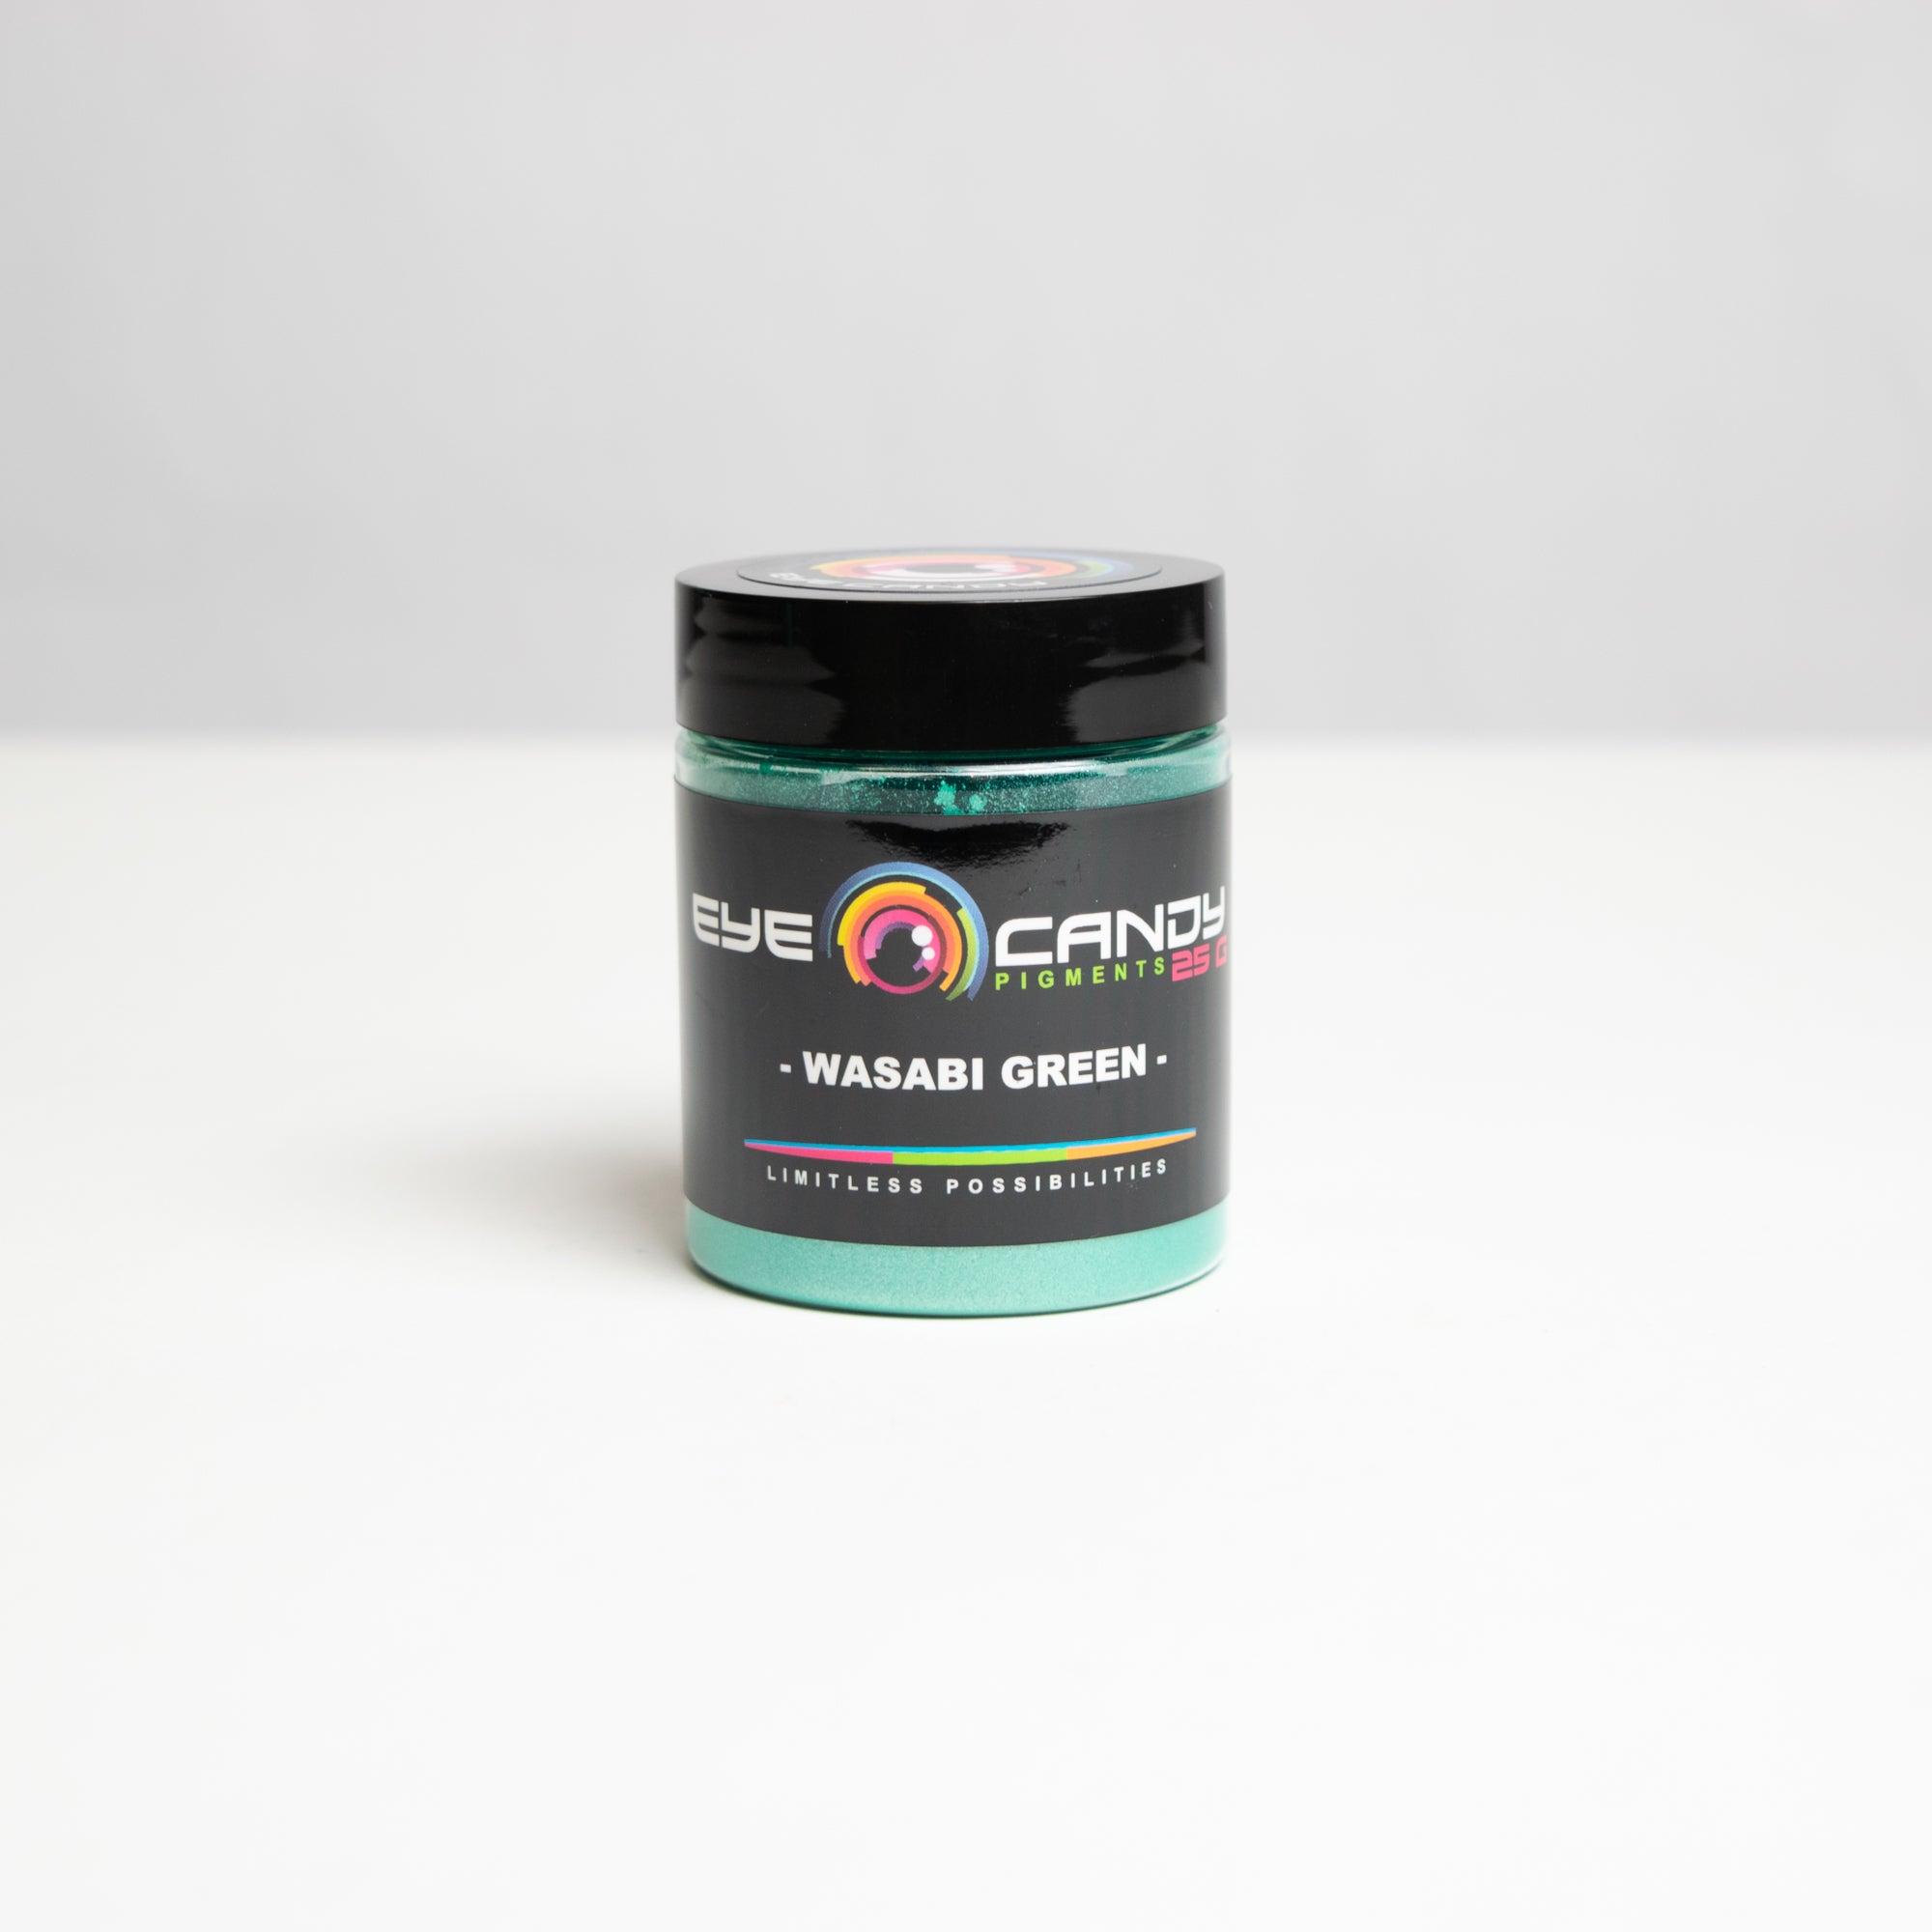
Homemade gifts are extra special since they showcase your personality and creativity. Using mica powders and a few other materials this year, have fun designing unique Christmas ornaments. You will save some money on gifts and tree decorations, and you’ll have gifts to give that will be a treasure to your loved ones. To learn how to make some dazzling ornaments, follow along as we discuss magical Christmas ornaments to create for family and friends.
Glass Ball Ornaments
This simple decoration with a glass ball turns into an ornament that looks professionally made and expensive. Here’s what you need for a glass ball ornament:
- Clear glass ornaments (you can find these in craft stores)
- Mica powders
- Acrylic medium
- Mini scoop
- Shot glass
Now let’s look at the steps to create your beautiful glass ornament:
- Remove the top of the ornament.
- Pour in enough acrylic medium to coat the glass ball inside.
- Turn the ball upside down onto a shot glass and allow the excess acrylic to drain. You want a light coating without pools.
- With the mini scoop, shake mica powder into the ball as you continually turn the ball for an even coating. Add more or a mix of colors as necessary to fit your design.
- Allow to cure for 72 hours before hanging on the tree or wrapping as a gift.
You can also embellish your glass ball ornaments with ribbon or winter sprigs of greenery and berries.
Resin Christmas Ornaments
Another way to create magical Christmas ornaments for your family and friends is using mica powder, silicone molds, and epoxy resin. You can get molds in all kinds of shapes and sizes. Here’s what you need for this project:
- Epoxy resin (found at your local craft store)
- Disposable cups
- Silicone molds
- Mica powders
- Heat gun
- Additional embellishments
- Drill
Additional embellishments can be just about anything. You can place items like buttons, glitter, photos, and pressed flowers in the resin while it’s still setting in the mold. Here are the steps to make your resin Christmas ornaments:
- Mix the resin with the epoxy per the manufacturer’s instructions.
- Pour the mixture into as many cups as you need (depending on how many colors you want).
- Add the mica powders for color and mix well.
- Pour the resin into a mold. You can swirl colors, blend colors, or use only one color.
- If you want to add embellishments, pour one layer of resin, and let it sit for about 40 minutes. Then, gently place your object or objects on top of that layer.
- Cover with one more layer of resin.
- Use the heat gun to remove air bubbles gently.
- Allow it to dry for 24 hours, then remove from the mold.
Once the ornaments are hard, usually after about 72 hours, you can use a drill to make a hole for a ribbon to hang the ornament.
Get Supplies From Eye Candy Pigments!
Have fun trying these DIY magical ornaments this year. If you need beautiful colors, Eye Candy Pigments has you covered with glimmering gold mica, perfect for the holidays, and other colors you could imagine. We provide the wow factor so you can make a variety of ornaments for everyone on your list.


